A small article discussing the basics of Memory Forensics.
Ever since I have been active in the DFIR community and since MemLabs was released, a lot of people have always asked me for resources, how to start learning memory forensics etc..
So, this post is basically to answer these questions from whatever I have learnt ever since I took up the field of digital forensics. I am not going to speak about the jobs, certifications etc.. since I never applied for any certification before and I am still an undergraduate student.
Prerequisites
Well, there aren’t any specific things one should know before getting into memory forensics. However, if you’re familiar with the following, the knowledge certainly helps.
- Knowledge in some popular programming languages (C, Python, Java).
- Knowledge on basic data structures like Arrays, Heap, Stack, Linked Lists, Trees etc.
- Not the most compulsory thing but if you’re into learning internals of Operating systems, this certainly is a must.
It would be good to point out that I never knew any of the above things when I first started playing CTFs or anything related to DFIR. I learnt all of these things gradually along the way by reading blogs, watching YouTube videos and reading books.
What is memory forensics?
Digital forensics is a very large and diverse field in cybersecurity. One of the core and most important section is digital forensics is memory forensics. Memory forensics deals with the acquisition and analysis of a system’s volatile memory. Hence it is also called Volatile Memory forensics.
Why memory forensics?
Volatile memory is very crucial as it can help us understand the state of a compromised system and gave give us great insights into how an adversary might’ve attacked the system.
When it comes to malware attacks, volatile memory is sometimes the only source for investigating such attacks. The recent trend in malware has been such that most of them are only memory-resident malware. That means analysis of non-volatile evidence won’t give us convincing clues about the presence of malware at all.
The best example for such a scenario would be Stuxnet. Stuxnet was first of much such malware which was only memory resident and they remained dormant in the victim’s system until a target was found.
Ever since Stuxnet, there has been an alarming trend of such attacks and on a positive note, more research into memory forensics!
The first steps
Memory Forensics involves 2 steps when viewed on a high level.
- Evidence acquisition
- Evidence analysis
I will try to discuss various free tools which can help us do the above things. I won’t be going to the internal specification of any of the tools. However, I will provide some useful links at the end which the reader may find useful.
Evidence acquisition
There are a lot of tools for acquiring memory from a system. Some of them are licensed and some are free. I will only discuss some of the popular free memory acquisition tools
Windows
DumpIt
DumpIt is free windows memory acquisition tool from Comae. It is free to download. Dumpit works well in all versions of Windows. Below is a small demo in Windows XP.
DumpIt has been my favourite tool amongst every other tool I’ve tried so far. The best feature in it is that it is extremely lightweight and hence leaves a very low memory footprint.
FTK Imager
FTK Imager is also a free tool from Access Data. FTK Imager is used not just for memory acquisition but used for disk imaging too. It also has in-built disk analysis capability as well. It is fully GUI based, unlike DumpIt.
There are few other tools which have been very popular lately. My personal recommendation would be Magnet Forensics’s Acquire. It is also a free tool and is capable of capturing memory from both Smartphones as wells as computers. It is definitely worth checking out.
Linux
AVML
AVML is a really great tool recently released by Microsoft to help with Linux memory acquisition. It is fully written in Rust.
$ sudo ./avml output.lime
Note: Do not use the –compress option when acquiring memory. The compressed file cannot be analyzed using Volatility. You’d have to decompress to properly analyze. {:.info}
You can see more about the tool at https://github.com/microsoft/avml.
LiME
LiME is first tool that I ever used to capture Linux memory and the experience has been very smooth. I have used it previously for some testing stuff that I required.
sudo insmod lime.ko path=output.lime format=lime
You can see more about the tool at https://github.com/504ensicsLabs/LiME.
Evidence analysis
In this section, I’m going to stick to only one tool - Volatility. Volatility is an awesome and highly powerful memory analysis tool. I guess I can say it is the best memory analysis tool in the industry. The other best thing about it - It is completely FREE and Open Source.
Here, I will be dealing with Volatility 2 which is written in Python 2. The creators have also been working on Volatility 3 which is showing a lot of promise and I would certainly blog about it in the upcoming blogs.
Following are some sample demo videos which give you an idea about the tool. I am not going to discuss the plugins and how they work. Feel free to drop a message if you’d like to know more. Also in the coming sections, I will be writing about Windows memory analysis.
Determining the profile
One of the most common difficulties faced in analysis with volatility is determining the profile to be used. We have 2 plugins in volatility that help us in determining the appropriate profile.
- imageinfo
- kdbgscan
imageinfo
$ volatility -f memory.dmp imageinfo
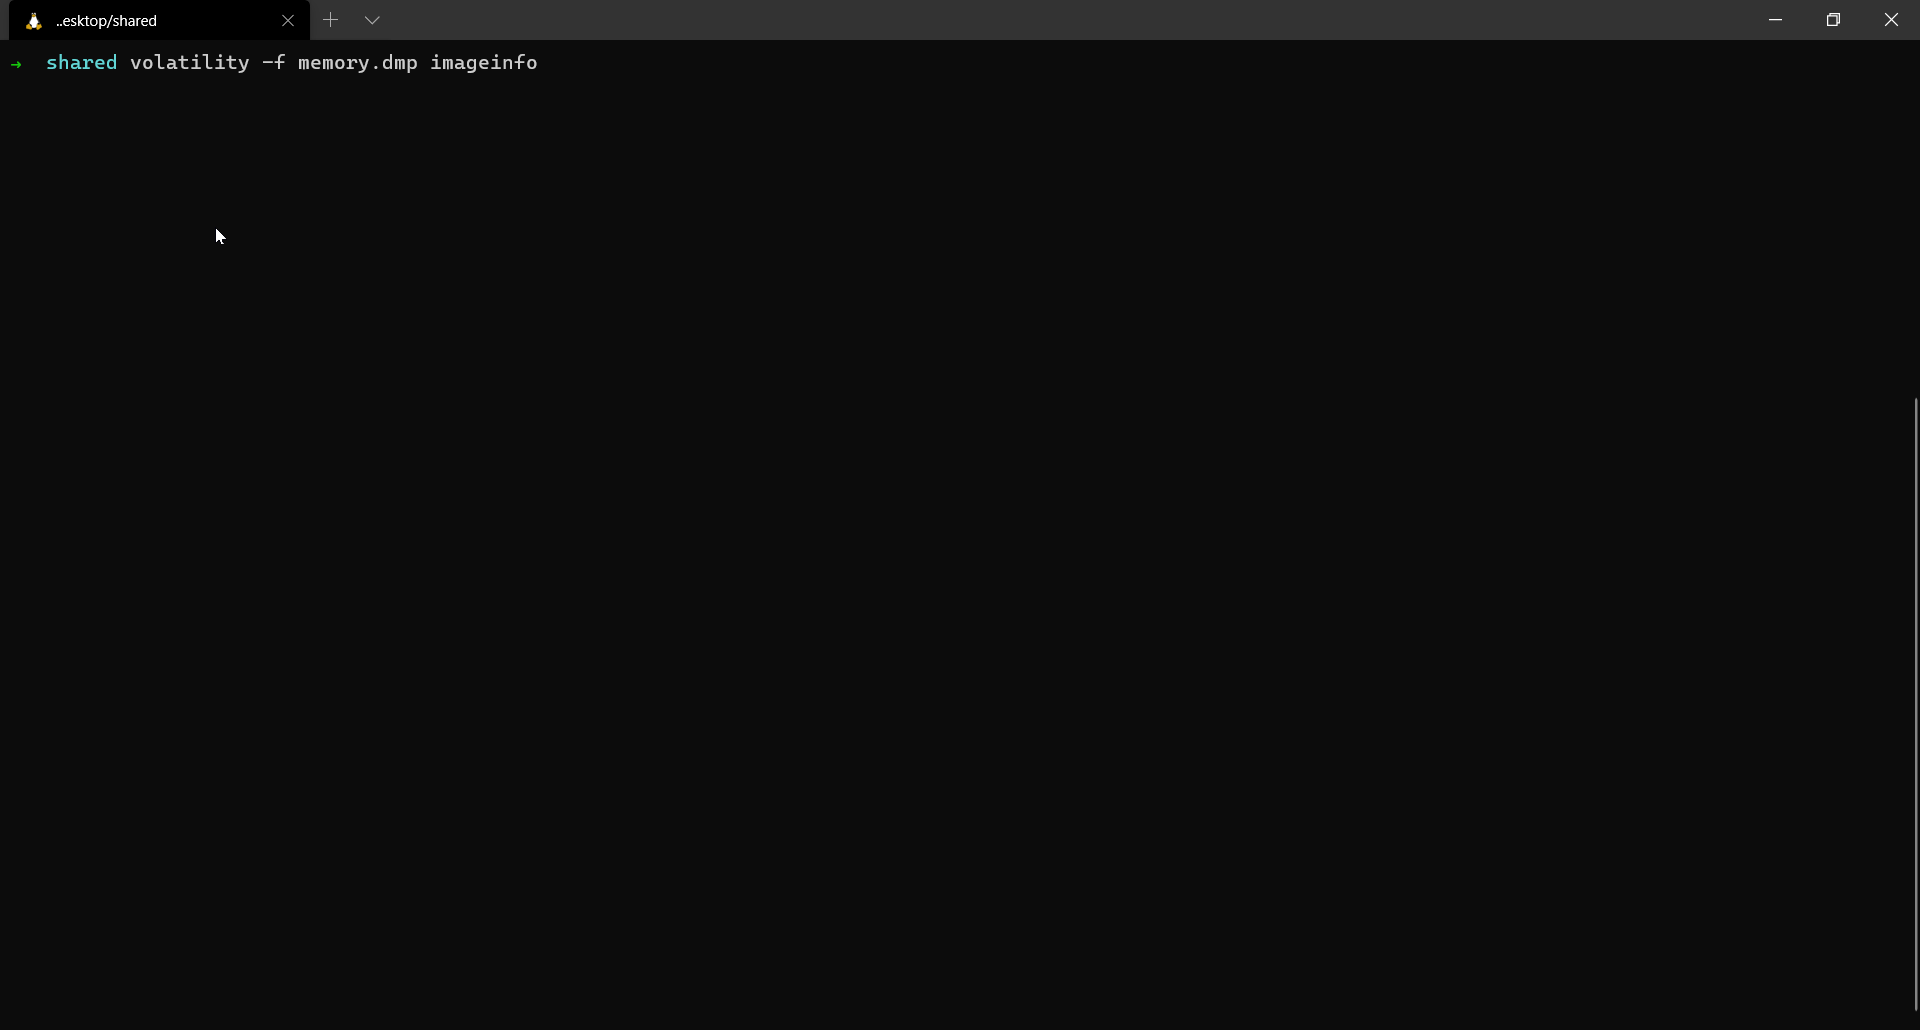
The imageinfo plugin provides a high-level summary of the memory dump. Other than the just suggesting profiles, the plugin also gives a lot of other details the base address of _KDDEBUGGER_DATA64 block i.e the Kernel Debugger Data block, the timestamp when the memory dump was extracted, no.of of CPUs in the system etc…
The way volatility tries to guess the profile is from the debugger data structure which is inside the NT Kernel module. It contains a build string and other numerical values which indicate the major and minor builds of the target operating system. We view these details in the next plugin - kdbgscan.
kdbgscan
$ volatility -f memory.dmp kdbgscan
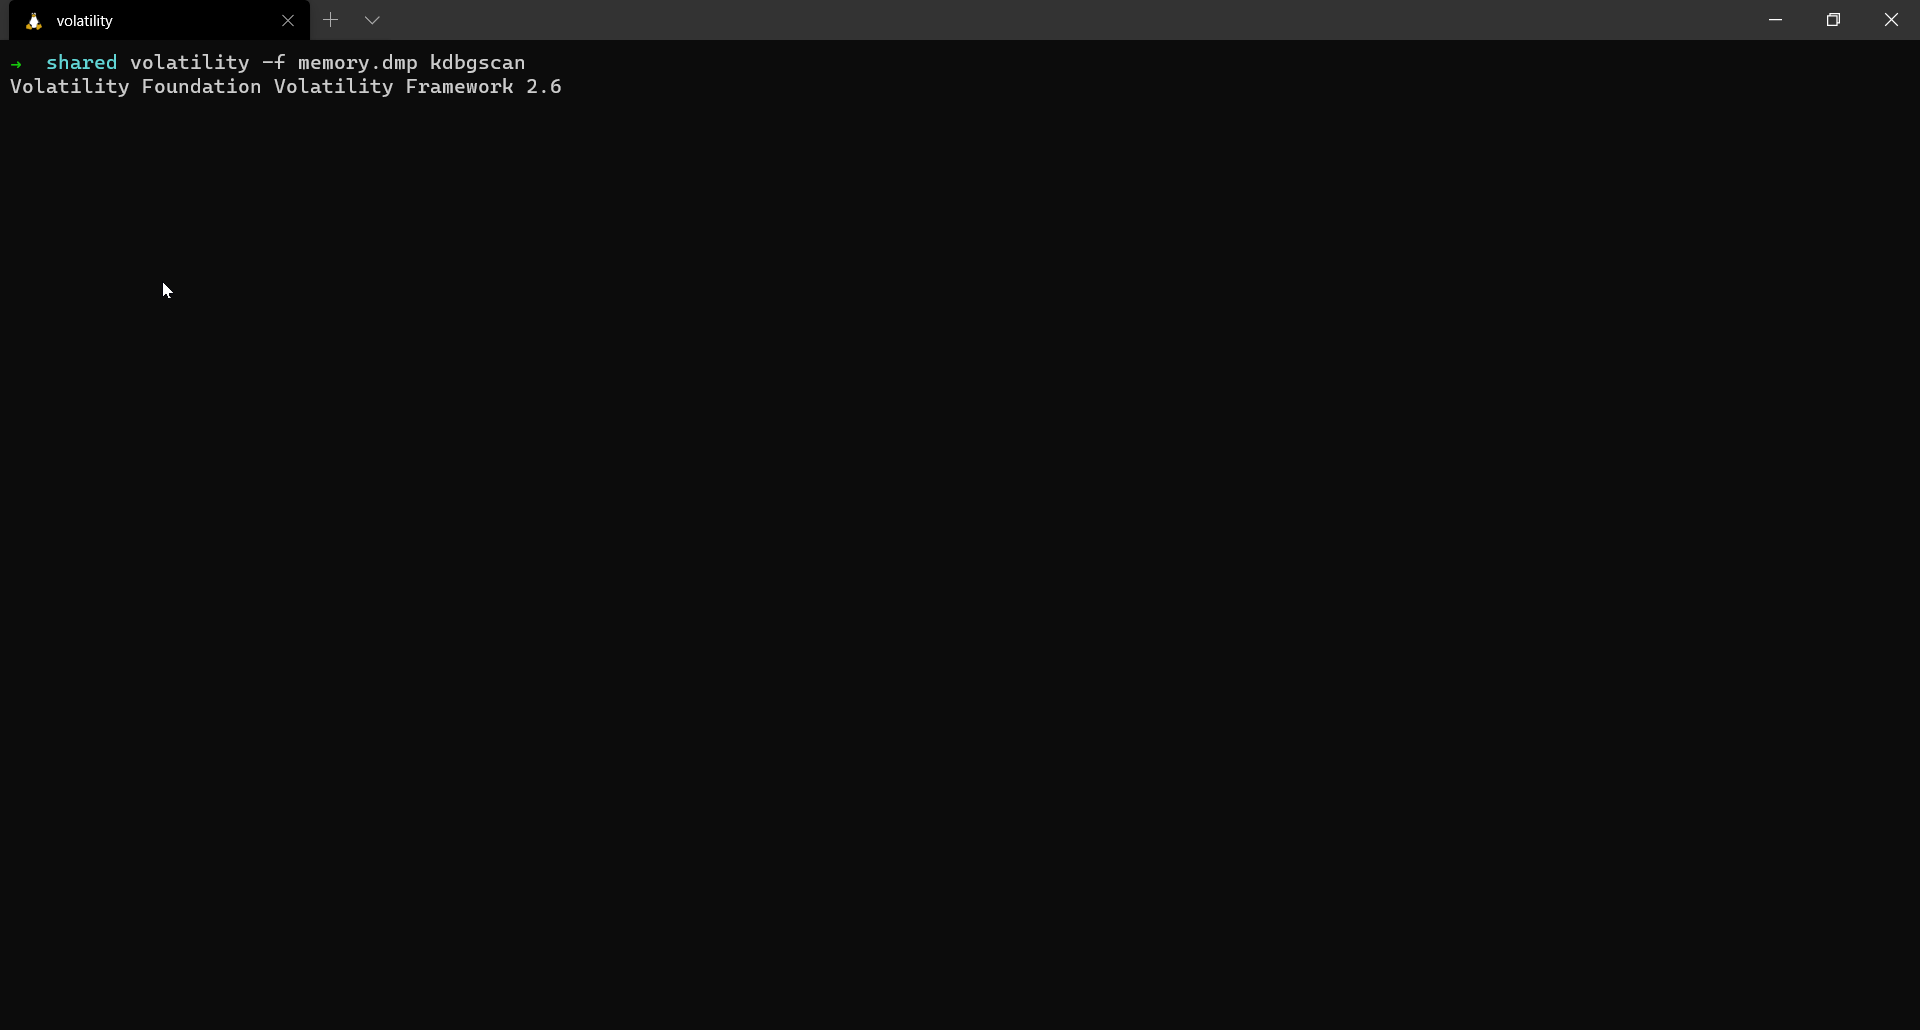
As discussed before, kdbgscan fetches details from the _KDDEBUGGER_DATA64 block. As you observe in the output above, we can view the build string of the target system and many other details like the offset of the PsActiveProcessHead & PsLoadedModuleList.
Note: Both the plugins, imageinfo and kdbgscan are strictly for Windows memory dumps only. {:.info}
Issues in determining profile
I have read a lot about some cases where the suggested profile does not work properly. I also read about why this happens. The _KDDEBUGGER_DATA64 block is a non-critical data block to the Operating System. Malware can target this data block and modify its contents so that tools which rely on this data block for forensic analysis stop working.
Other cases for getting incorrect profile suggestions can be due to presence of more than one _KDDEBUGGER_DATA64 block in memory. This can happen if the system has not been rebooted since applying a hot patch that updated this structure or if the system rebooted too quickly that the RAM contents from the previous boot have not been flushed out yet.
For more details, please refer the book - The Art of Memory Forensics. The book also describes a case where we find the presence of more than one kernel debugger data structure.
Printing environment variables
$ volatility -f memory.dmp --profile=WinXPSP2x86 envars
Listing active processes
$ volatility -f memory.dmp --profile=WinXPSP2x86 pslist

If you can observe, we also see DumpIt.exe among the list of running processes. That is because DumpIt was used to acquire the memory in the first place.
Listing other plugins
Volatility is capable of doing a lot of things. Some of them include but not limited to:
- Detect active connections
- Detect potential malware in the memory dump
- List all the open files in the system
- If they aren’t paged out, you can even extract the files.
- Dump registry hives
- List the password hashes of the users
- Extract browser history
- Extract command prompt history
- List loaded drivers etc…
This is just a small list of what Volatility can do. If you’d like to know the details of other plugins,
volatility -f memory.dmp --profile=WinXPSP2x86 -h
Note: It is important to know that the list of plugins displayed is specifically dependent on the profile used. {:.info}
Practice memory forensics
In my opinion and experience, CTFs are the best way to get your hands dirty with any field in cybersecurity and the same applies to learn memory forensics hands-on. CTFs often open up new difficulties in solving a challenge and thereby are super useful in learning new ideas, techniques.
I have recently released MemLabs - Educational CTF-styled labs for learning memory forensics hands-on. I have received a lot of great feedback from the community and from the people who have used it.
MemLabs tries to teach the basics of using the volatility framework and also brings in the flavour of CTFs as well. The memory dumps are based on Windows operating system and I believe will be really useful for anyone who wants to start memory forensics.
Link: https://github.com/stuxnet999/MemLabs
Coming to CTFs, the best to look for CTFs is CTF Time. Also, most of the DFIR community is pretty active on Twitter so make sure to follow people relevant to your area of interest.
Also one of the priceless gems I have recently discovered is the Digital Forensics Discord Server maintained by Andrew Rathbun. Almost everyone in the international DFIR community is present here and is the best way to learn, discuss and share things.
Conclusions
Memory forensics is really an awesome field when it comes to dealing with malware, operating system internals etc.. It is also one of the most crucial parts of any DFIR investigation. I hope this post helps the reader in getting a little idea about the field.
If you’d like to know more, please drop in a comment or feel free to DM me on Twitter: https://twitter.com/_abhiramkumar
References
Volatility’s command reference
Writing simple plugins for Volatility
CTF writeups