A brief article on the basics of Linux memory forensics involving acquisition & analysis using Volatility.
Prologue
Over the last 3 years since I began my journey in digital forensics, memory forensics, in particular, was always more interesting to me. I don’t know why but I always had a special corner for memory & malware. Since then I’ve explored a lot of different concepts related to operating systems and how memory is extracted, analyzed and a lot of other interesting things.
Like many others I believe, I started first with windows memory forensics and then moved to Linux and Mac. A lot of blogposts in my website have concentrated on various CTF challenges which involve windows memory forensics. So, I thought why not write a blog post on Linux memory analysis which might help someone who is interested in knowing about this.
I will try to keep this blog post as simple as possible and more geared towards complete beginners to the field. I will try to write more blog posts which concentrate on lower-level aspects of Linux memory if I get the time to write them.
Introduction
Memory forensics irrespective of the OS in question has 2 basic steps that everyone must follow.
- Memory acquisition
- Memory dump analysis
In my previous blogpost on Basics of Memory Forensics, I introduced 2 tools which can be used to acquire Linux memory. However, I would repeat the same content here as well so that you won’t need to switch back and forth. If you are already familiar with the process of extraction, you can skip to the next section.
So now we will look at a few tools which are FREE to dump the Linux memory.
Linux memory acquisition
AVML
Acquire Volatile Memory Linux (AVML) is a tool recently open-sourced by Microsoft. The tool is built using rust-lang and has been found to be stable across most Linux distros. You can clone the repository and build AVML yourselves or just get the binary from the releases section and you’re good to go.
$ sudo ./avml output.lime
Note: Do not use the –compress option when acquiring memory. The compressed file cannot be analyzed using Volatility. You’d have to decompress to properly analyze. {:.info}
You can see more about the tool at https://github.com/microsoft/avml.
LiME
LiME is another great tool which has been extensively used by the community for a very long time. The tool is written in C and when compiled produces a kernel module which is used to extract the memory.
sudo insmod lime.ko path=output.lime format=lime
You can see more about the tool at https://github.com/504ensicsLabs/LiME.
There are a lot of other tools, however, in this blog post, I am restricting the content to these 2 only.
Linux memory analysis
In this section, my aim is to use Volatility 2 and test out some important plugins on a Linux memory image.
Note: I will not be using/explaining every plugin but only a few basic ones. {:.info}
Also, I won’t be discussing how to create plugins for Linux memory dumps. However, do check the Resources section where I have put up necessary links for this.
Finding our profile
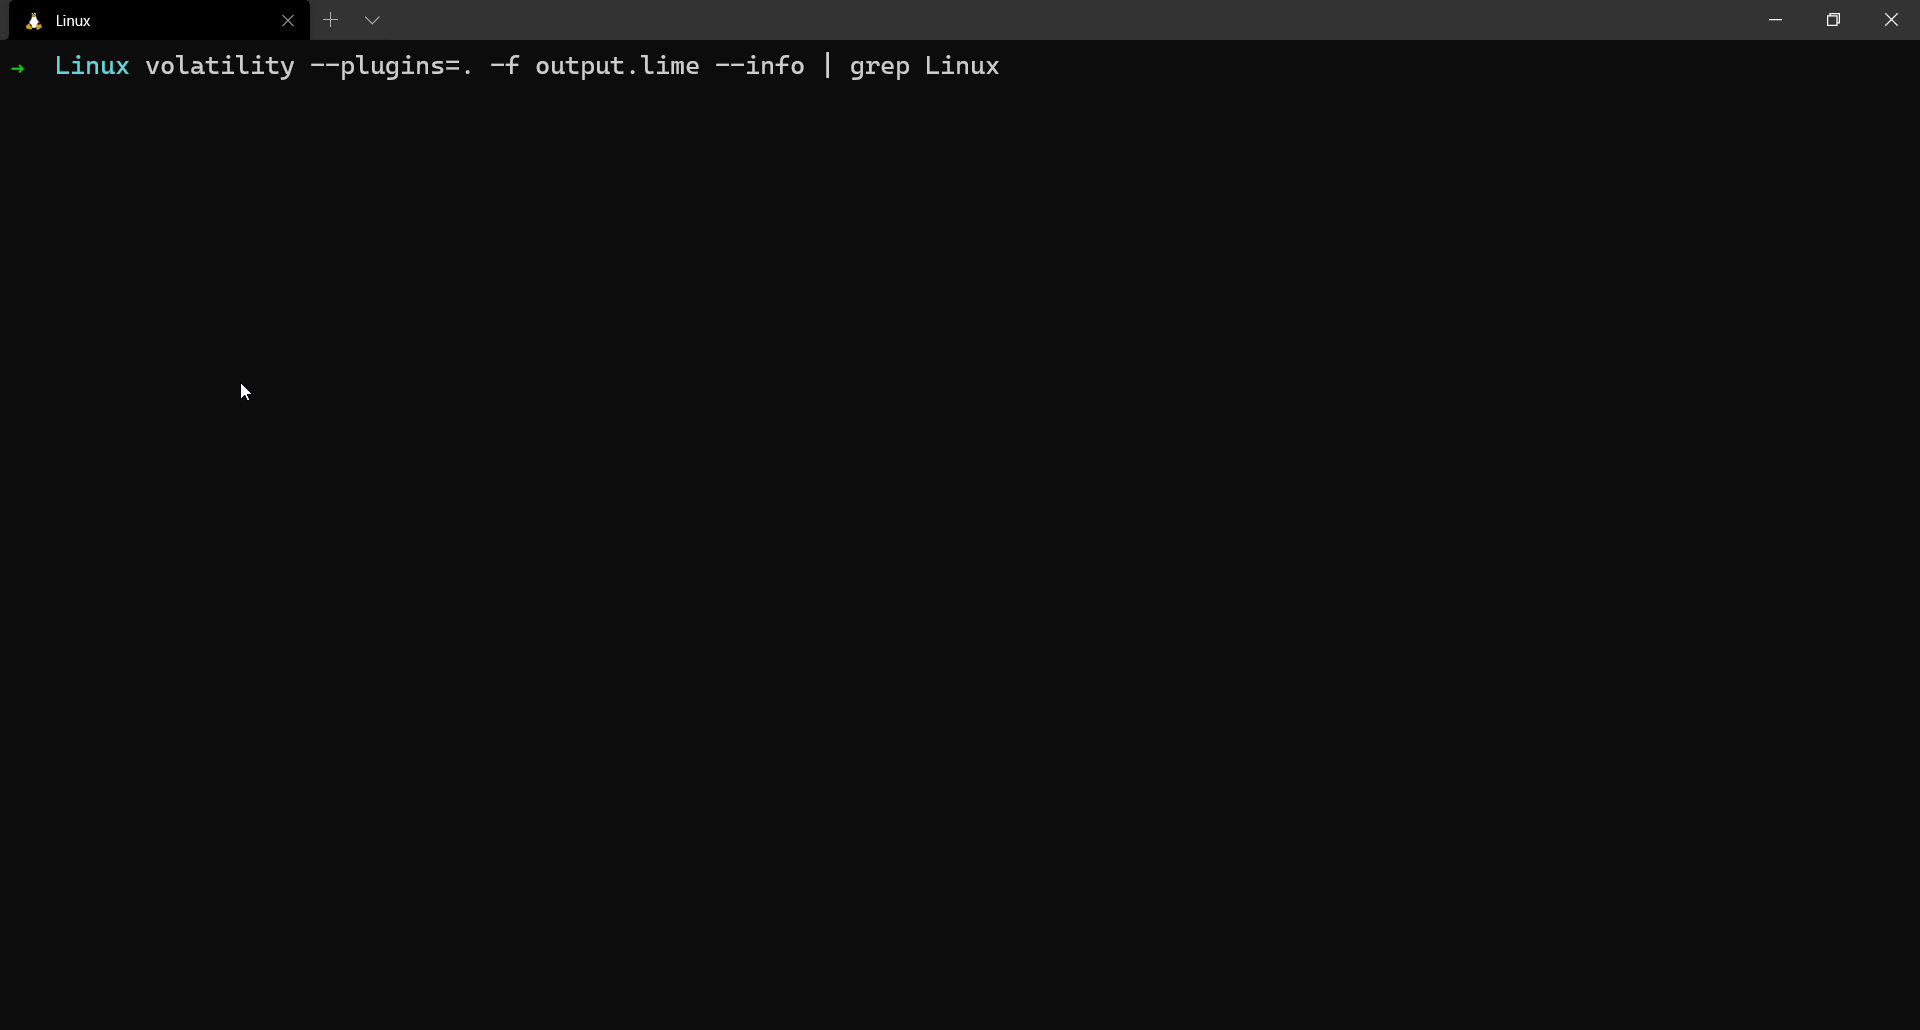
To find if volatility recognizes the generated profile,
$ volatility --plugins=. -f output.lime --info | grep Linux
Now what we got what profile we should be using, let us proceed to run some basic Linux plugins and understand what they do.
linux_banner
To find the high-level details related to the OS we are dealing with, linux_banner plugin is used.
$ volatility --plugins=. -f output.lime --profile=LinuxUbuntu1604x64 linux_banner

This plugin gives us information about the build of the system like the kernel version.
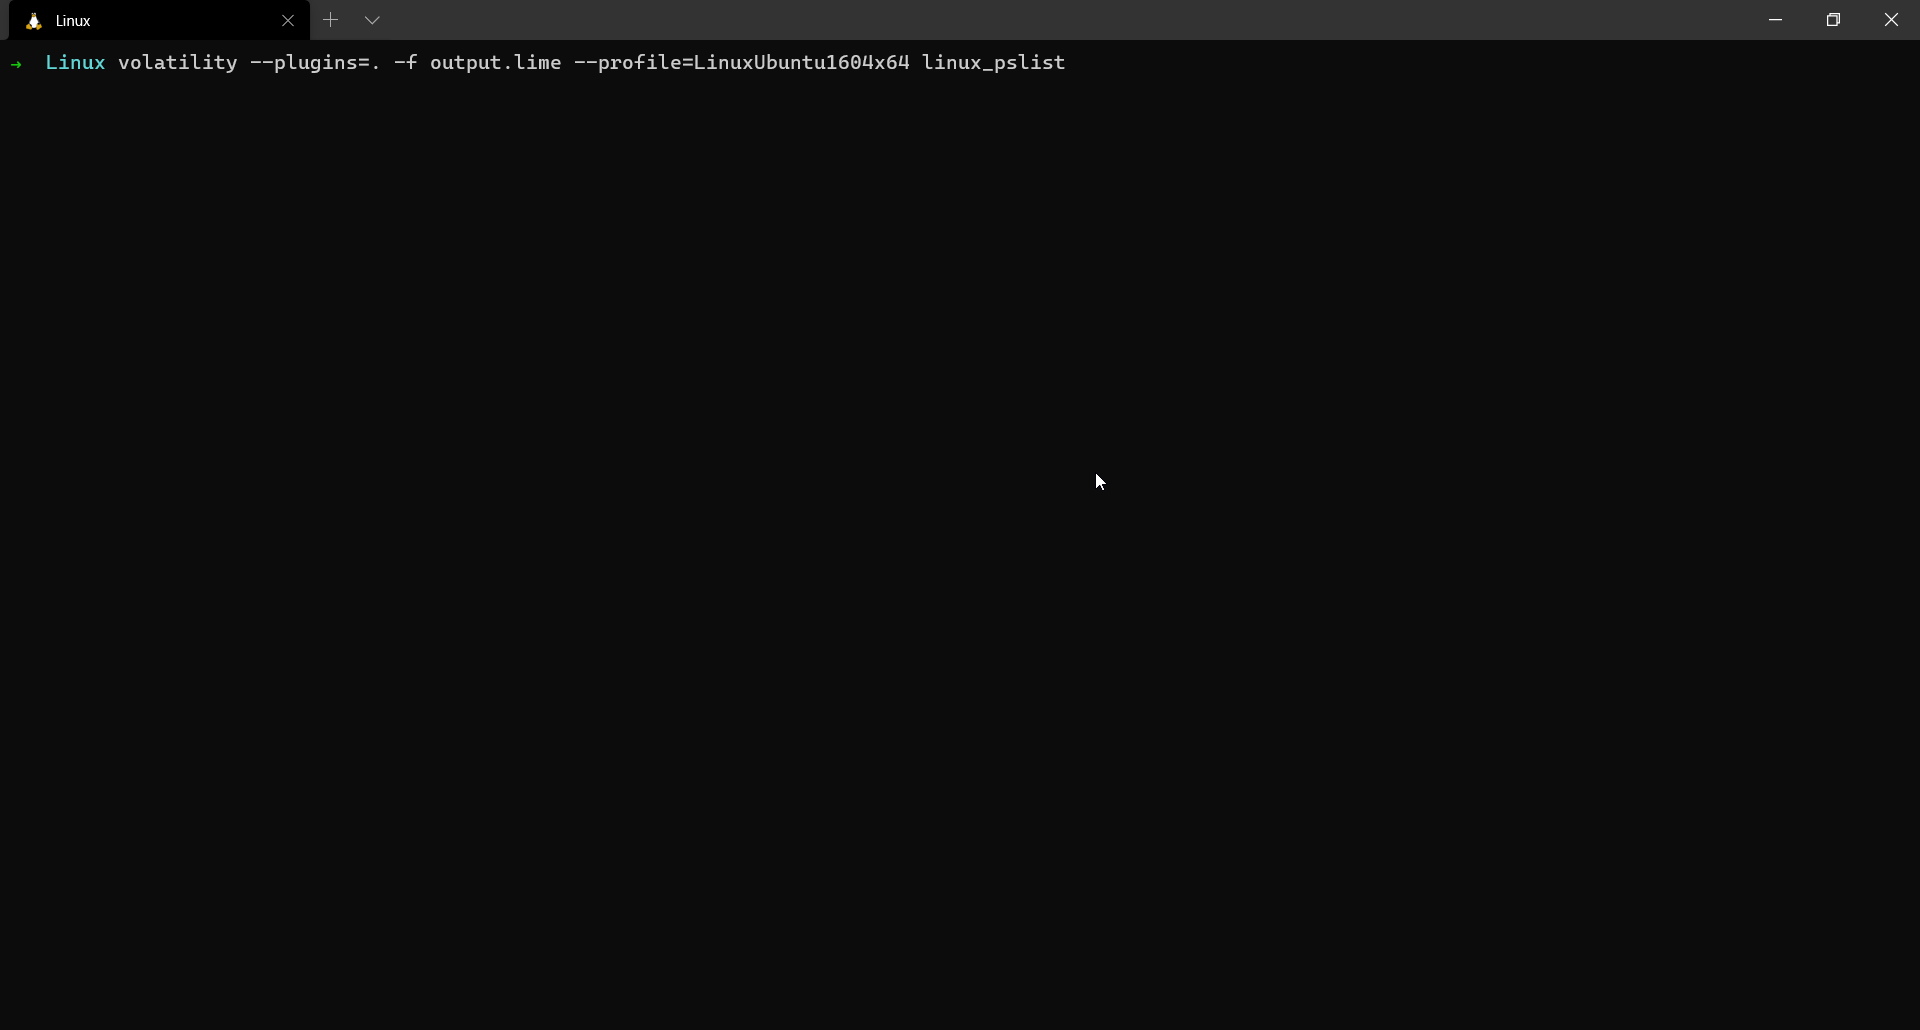
linux_pslist
Similar to the pslist plugin, the linux_pslist enumerates all the active processes in the system.
$ volatility --plugins=. -f output.lime --profile=LinuxUbuntu1604x64 linux_pslist
| offset | Name | Pid |
|---|---|---|
| 0xffff88003ae63200 | bash | 3314 |
| 0xffff880039073e80 | gedit | 3683 |
| 0xffff880037819900 | firefox | 4057 |
| 0xffff880039074b00 | bash | 4153 |
| 0xffff88000a3c9900 | sudo | 4178 |
| 0xffff880039070000 | avml | 4179 |
We notice some interesting processes like firefox and gedit. We also see avml which is the tool I used to dump the memory.
You can also use linux_pstree to get a better understanding of the parent-child relationships between various processes.
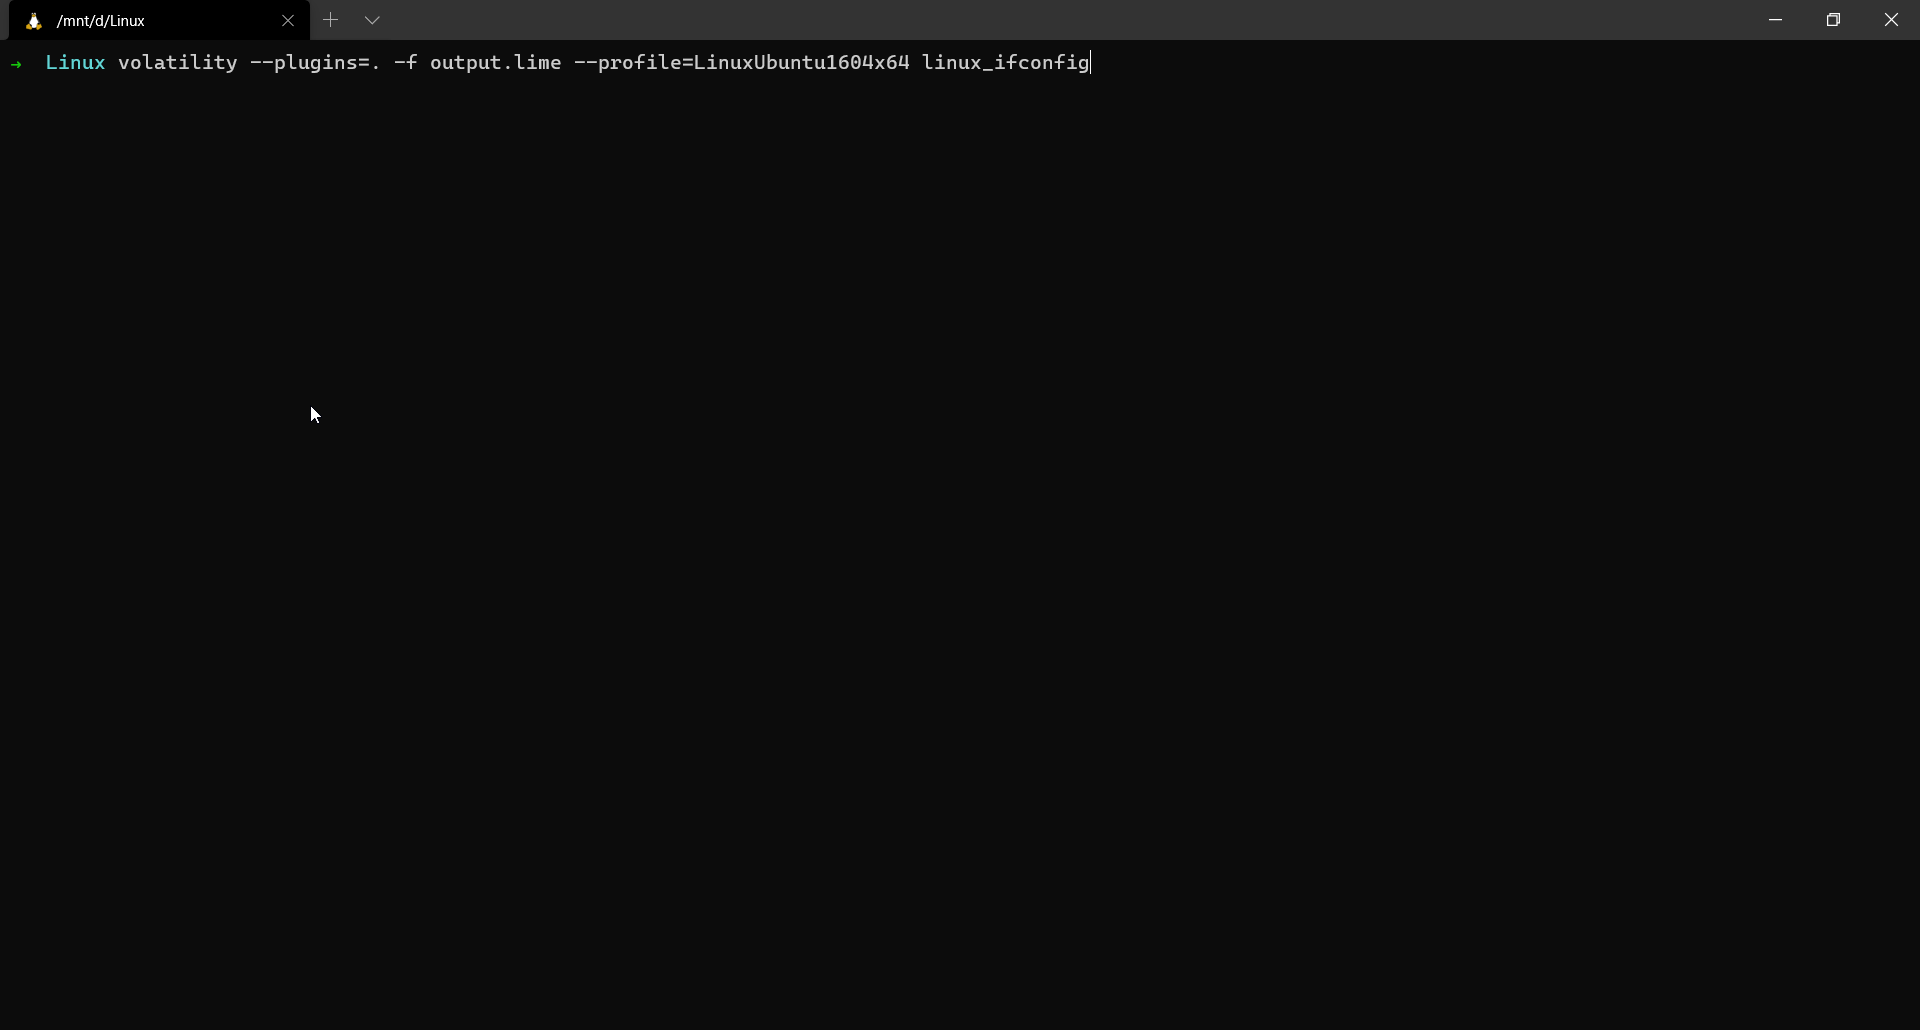
linux_ifconfig
The linux_ifconfig plugin gives us the information about all the active interfaces, associated IPs in the system.
$ volatility --plugins=. -f output.lime --profile=LinuxUbuntu1604x64 linux_ifconfig
linux_bash
Retrieving history of executed commands is always a valuable forensic artefact. It can give us an insight into what the adversary might’ve executed on the system. When analysing windows memory dumps, we use the plugin cmdscan for retrieving command history. In the case of Linux memory dumps, we use linux_bash
$ volatility --plugins=. -f output.lime --profile=LinuxUbuntu1604x64 linux_bash

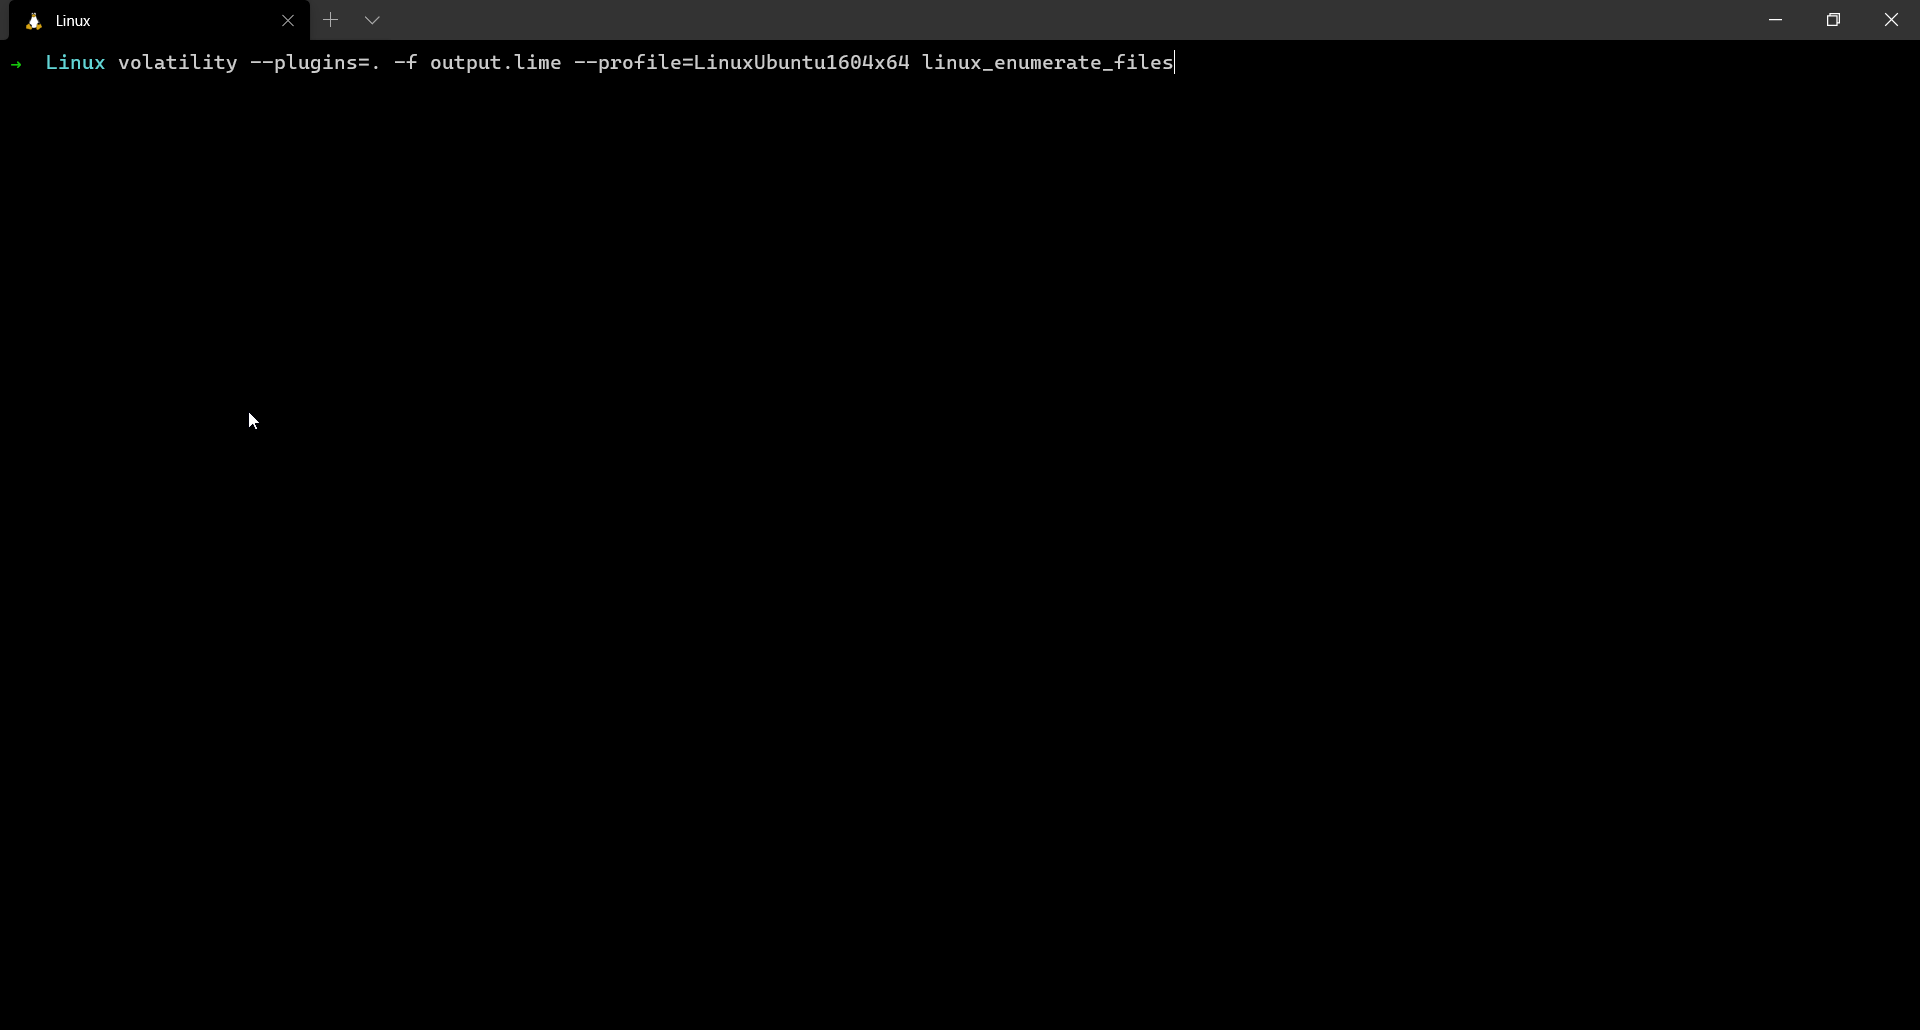
linux_enumerate_files
Listing & extracting open files from a memory dump is always necessary. The attacker might open text documents, word documents, images or PDFs etc… These files may contain extremely valuable information and help us get a better idea about the scenario.
linux_enumerate_files is a plugin which helps us do so. It is similar to the filescan plugin which is used for windows memory analysis.
This plugin gives us the inode address (which is the base address of the file), the inode number and the full path to file.
$ volatility --plugins=. -f output.lime --profile=LinuxUbuntu1604x64 linux_enumerate_files
The linux_find_file plugin is used to extract the files based on their inode address and dump them to disk.
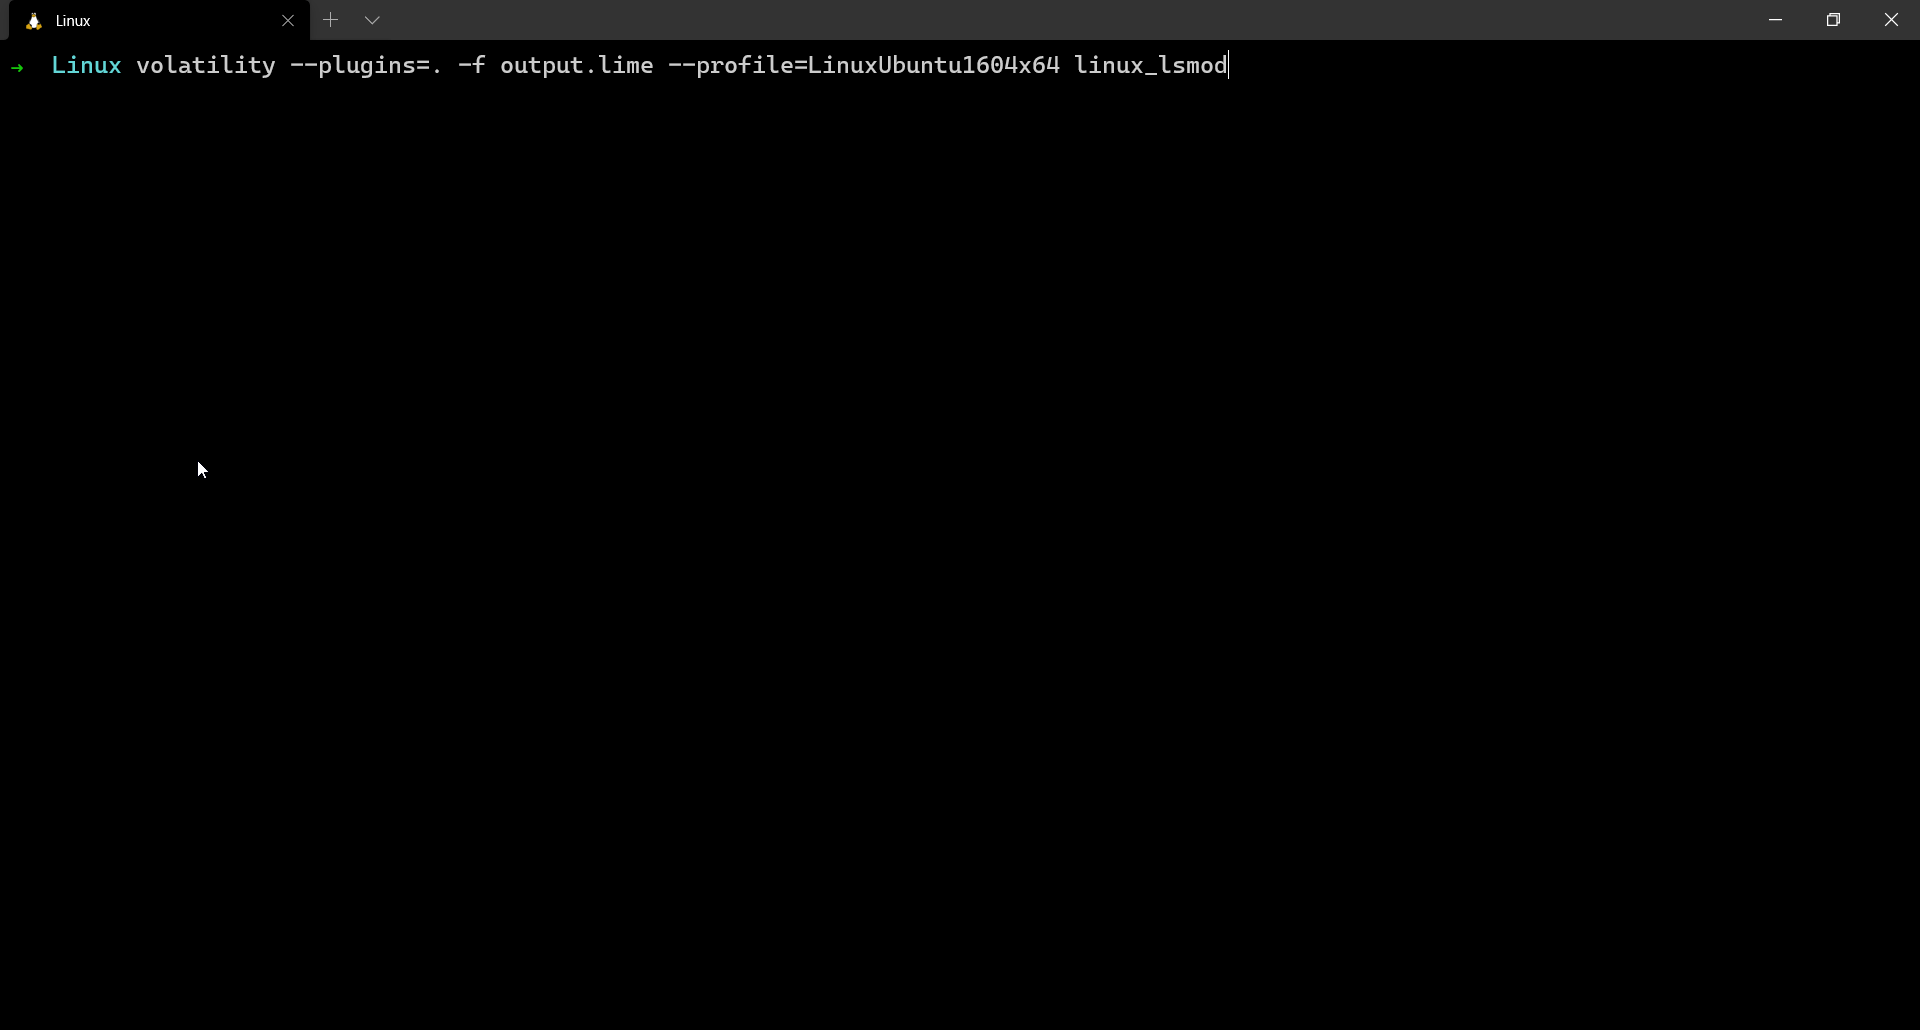
linux_lsmod
When dealing with complex scenarios, it is always crucial to check the loaded modules in the system. Sometimes there might be malicious modules loaded which would have compromised the system. To list all the loaded modules, we use the linux_lsmod plugin.
$ volatility --plugins=. -f output.lime --profile=LinuxUbuntu1604x64 linux_lsmod
As seen above, for the purpose of this blog, I created a simple loadable kernel module (LKM) by the name specialmodule just to demonstrate the use of this plugin. This is the source code of the LKM
#include <linux/module.h>
#include <linux/kernel.h>
#include <linux/init.h>

MODULE_AUTHOR("Abhiram Kumar");
MODULE_LICENSE("GPL");
MODULE_DESCRIPTION("With love from stuxn3t");
MODULE_VERSION("0.1");

int sample_lkm(void)
{
    pr_info("Hello DFIR guy! Hope you enjoy :)");
    return 0;
}

void hello_end(void)
{
    pr_info("Goodbye dear people");
}

module_init(sample_lkm);
module_exit(hello_end);
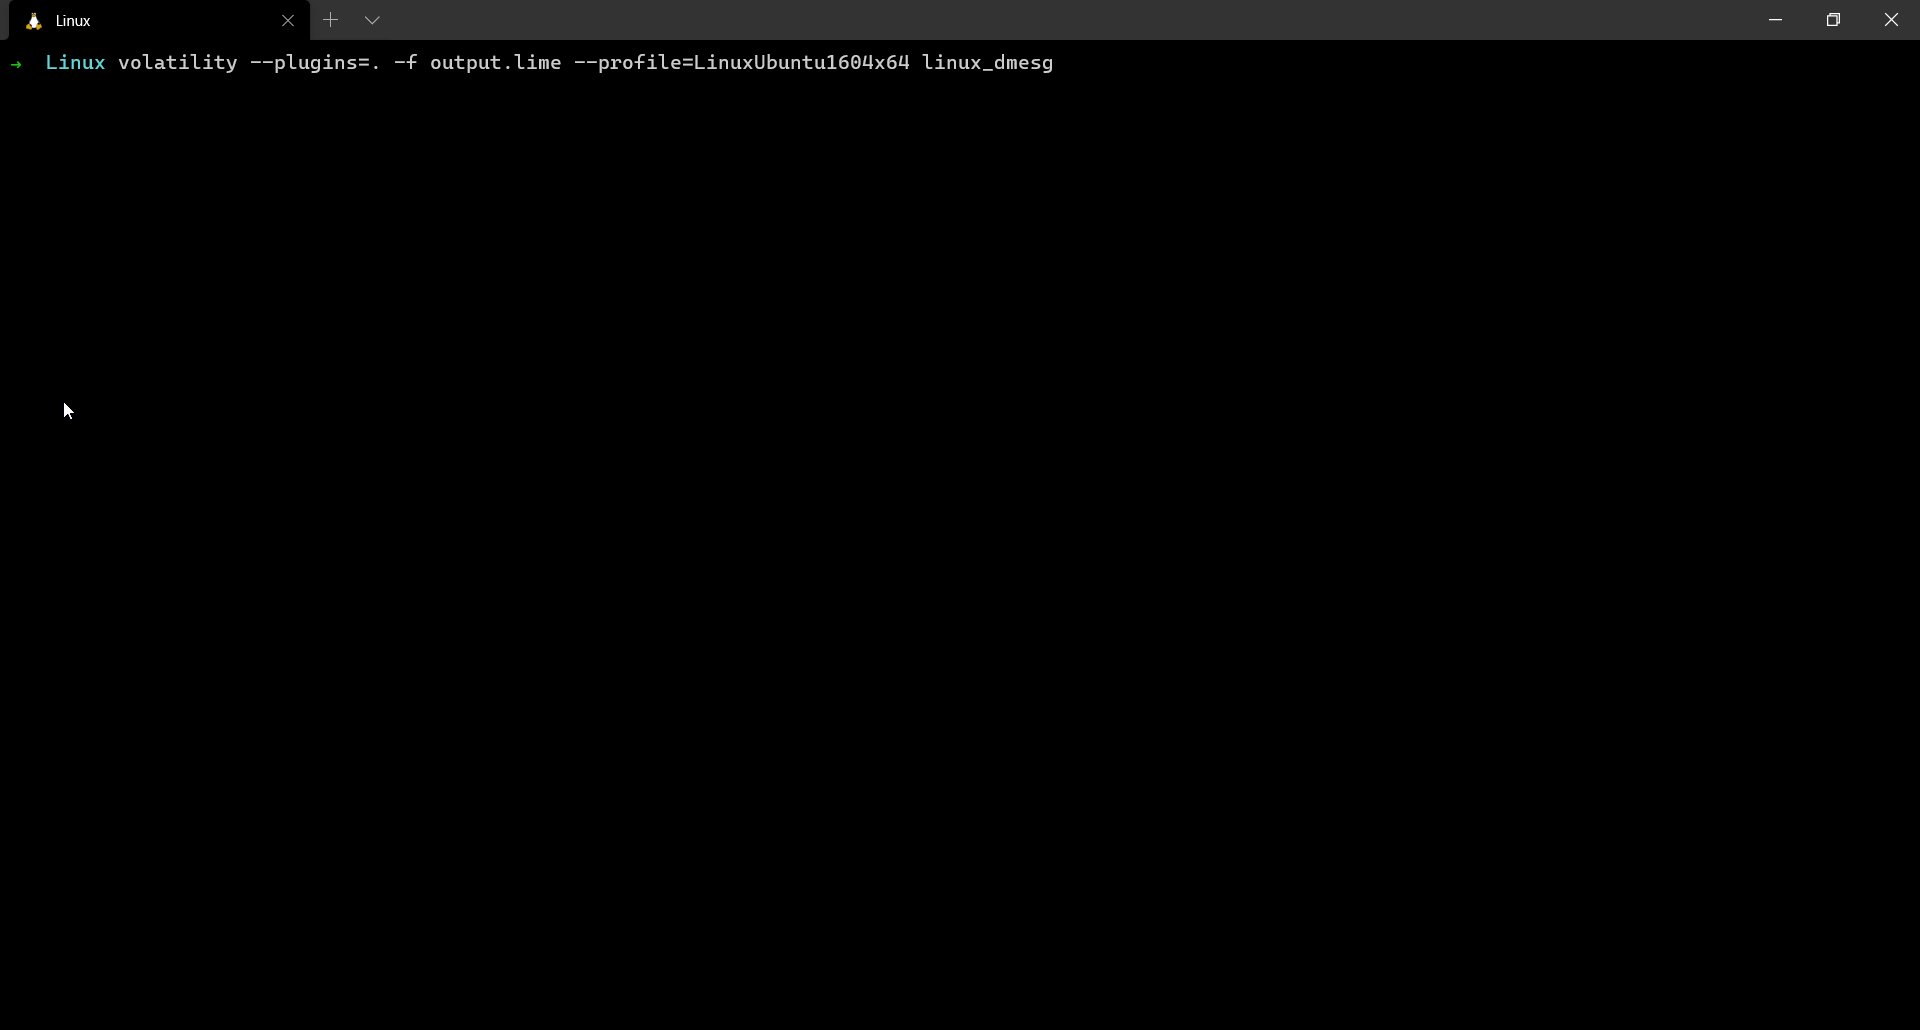
linux_dmesg
As seen in the above source code of the LKM, when the module is loaded, the string “Hello DFIR guy! Hope you enjoy :)” is written into dmesg log of the system. The linux_dmesg plugin lets us look dmesg output from the memory dump!
$ volatility --plugins=. -f output.lime --profile=LinuxUbuntu1604x64 linux_dmesg
linux_mount
This plugin is also very crucial because it tells what were the mounted devices in the system. Getting an idea of the mounted devices is very crucial because analysis of such devices might have the most important clues related to solving a case.
$ volatility --plugins=. -f output.lime --profile=LinuxUbuntu1604x64 linux_mount
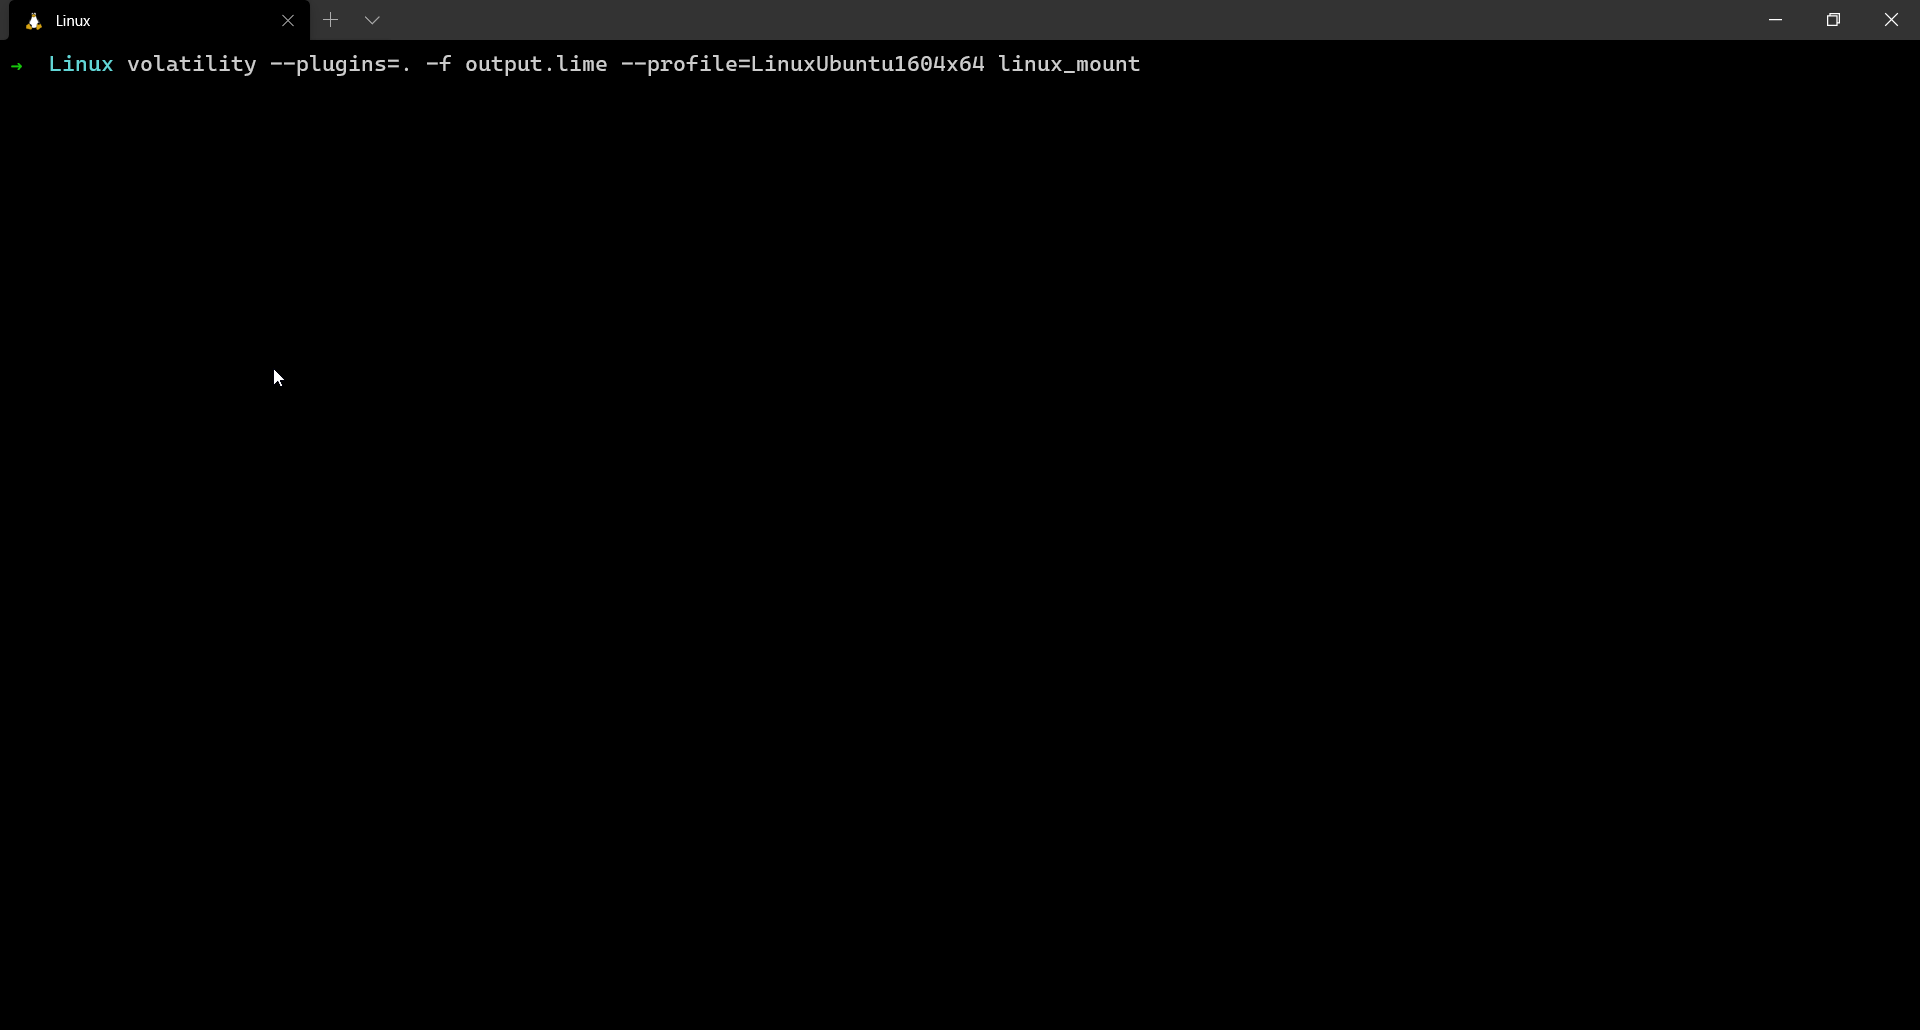
In the GIF above, you can see “Desktop” as a mounted device. That is because I mounted my host desktop folder to the VM so that I could share files.
Resources
At the moment, I don’t have a lot of resources on this but I would give some personal suggestions.
- Volatility Linux Command Reference
- The Art of Memory Forensics
- Generating Linux profile
If you’re interested in looking through a CTF walkthrough of a Linux memory forensics challenge which involves debugging a kernel rootkit, I just published it a few weeks ago - Insomnihack Getdents 2020.
Conclusion
Linux memory forensics is actually very interesting and it is always good to expand your knowledge base to other operating systems and get familiar with the possible artefacts that we can recover. I will be digging more into Linux memory for the coming weeks so expect some blog posts on that :)
If you liked this blog post, please do share it with anyone who would find it useful. Also, feel free to drop comments or contact me.