The full solution of getdents challenge from Insomni’hack teaser 2020.
tl;dr
- Locating the meterpreter session
- Identifying the rootkit
- Extracting the key value from rootkit’s bss section
- Decrypting the ciphertext.
Challenge description
Oh shit! Data have been stolen from my computer… I looked for malicious activity but found nothing suspicious. Could ya give me a hand and find the malware and how it’s hiding? {:.info}
Initial analysis
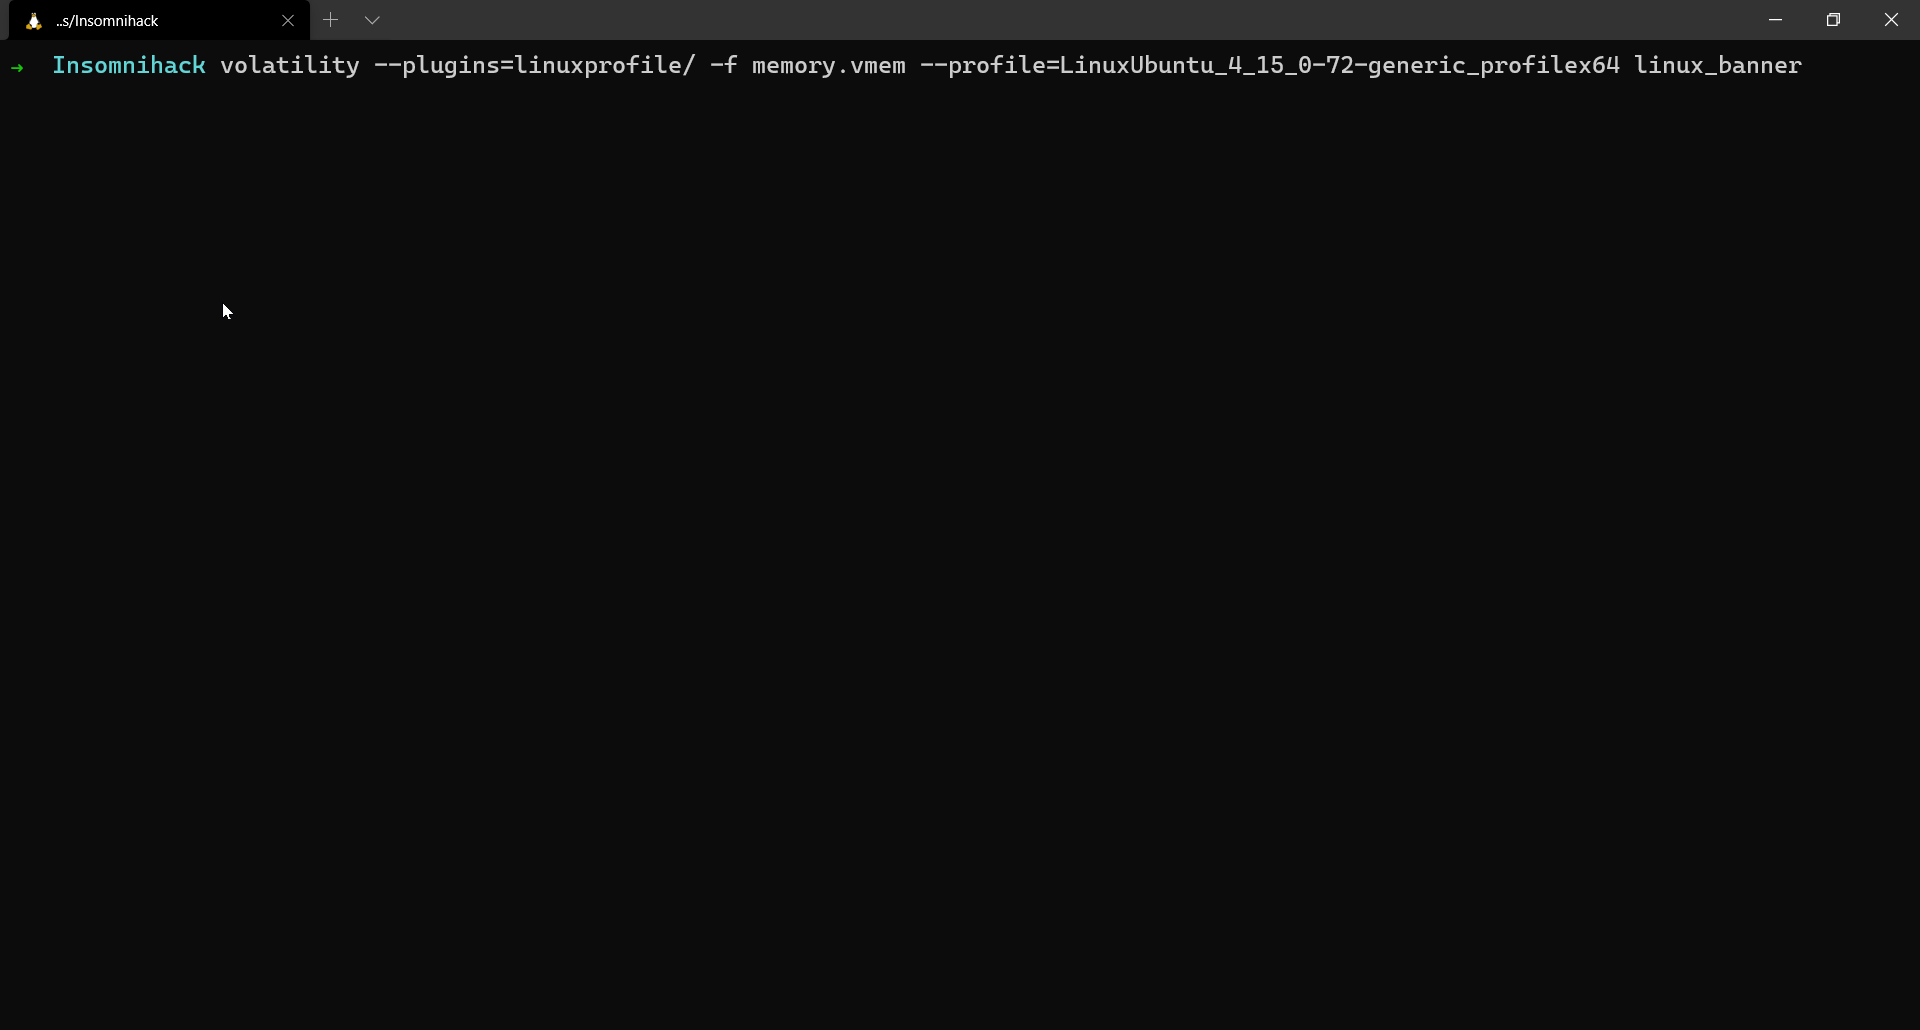
The description gives out the information that a certain malware might’ve infected the system. The given memory dump is a Linux memory dump. Luckily enough, we are also provided with the associated profile which makes our analysis a little easier.
$ volatility --plugins=linuxprofile/ -f memory.vmem --profile=LinuxUbuntu_4_15_0-72-generic_profilex64 linux_banner
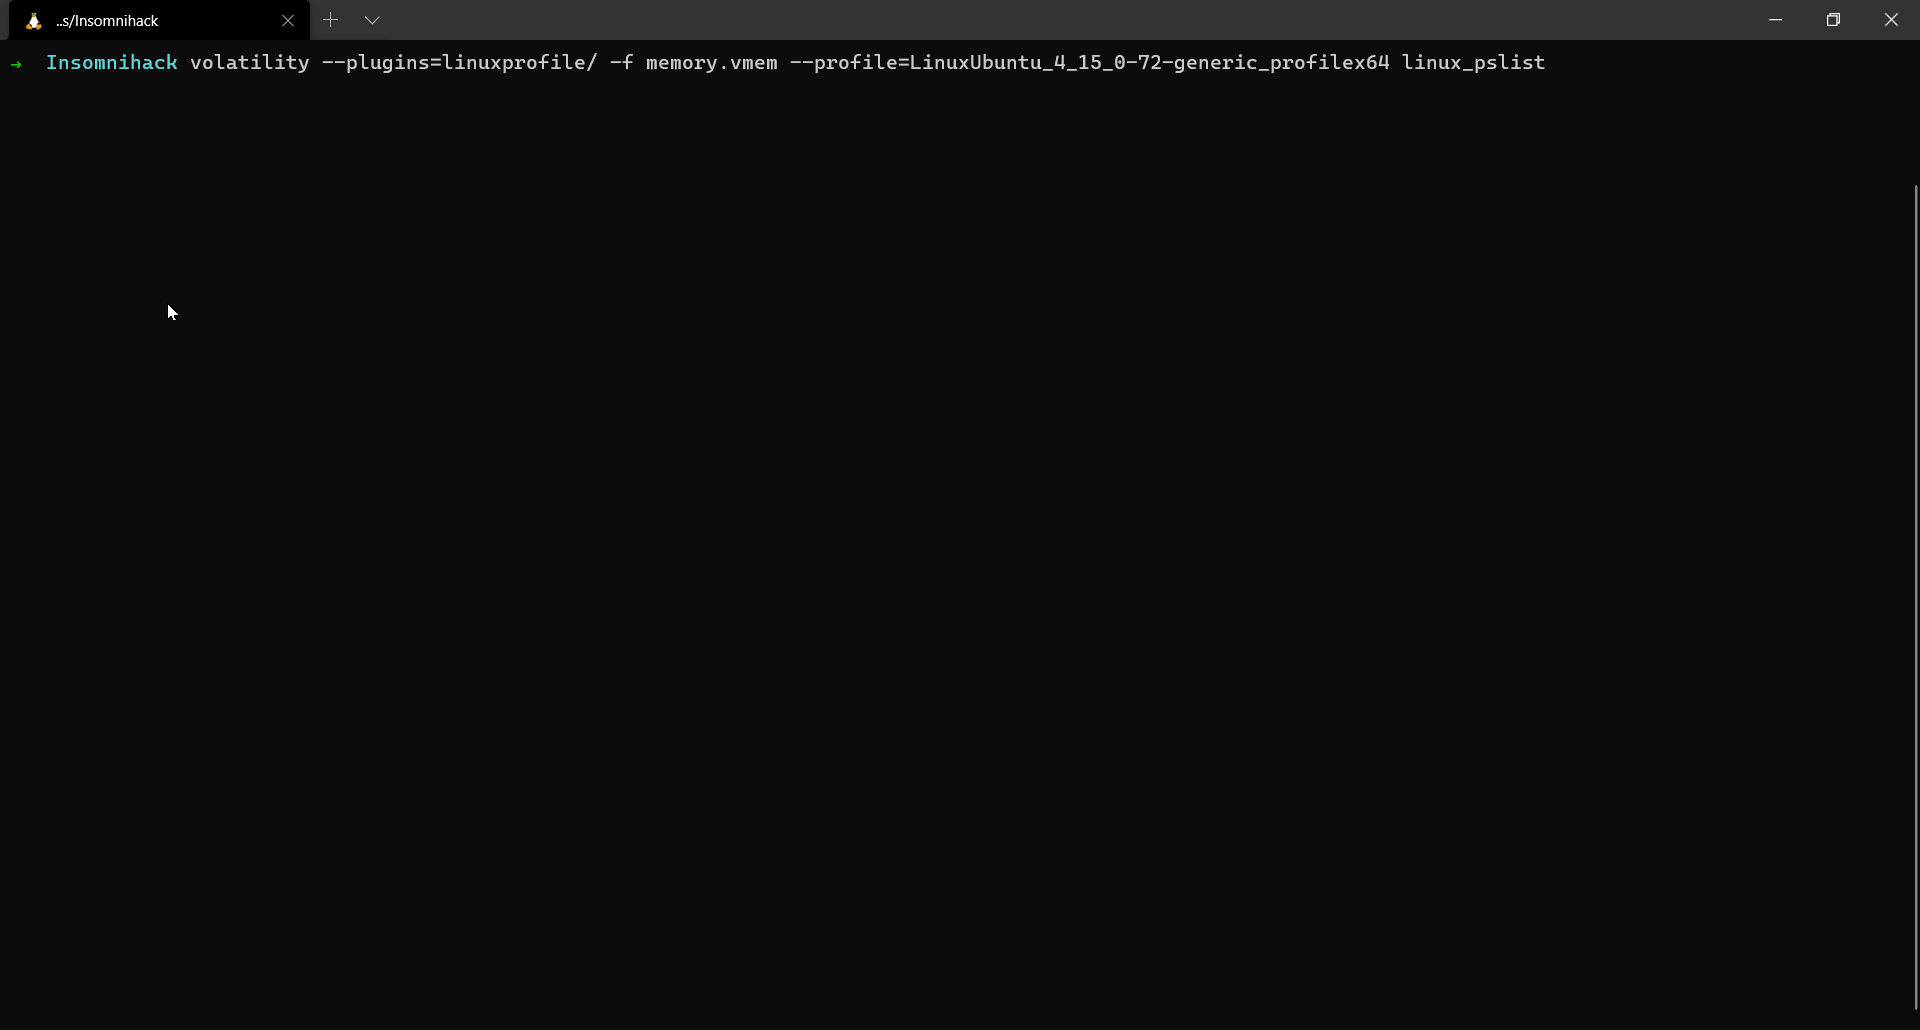
Listing active process
Let us see what are the running processes in the system and see if anything suspicious is present. Go through the huge list of processes, we see that a meterpreter is running.
We also observe that the meterpreter session has spawned a shell.

Fetching bash history
To get a few more details, we can also fetch the bash history of the system.

Analysis of the spawned shell
As we have previously observed that the meterpreter session spawned a bash shell, let us dump the memory region of the shell and see if we find anything interesting.
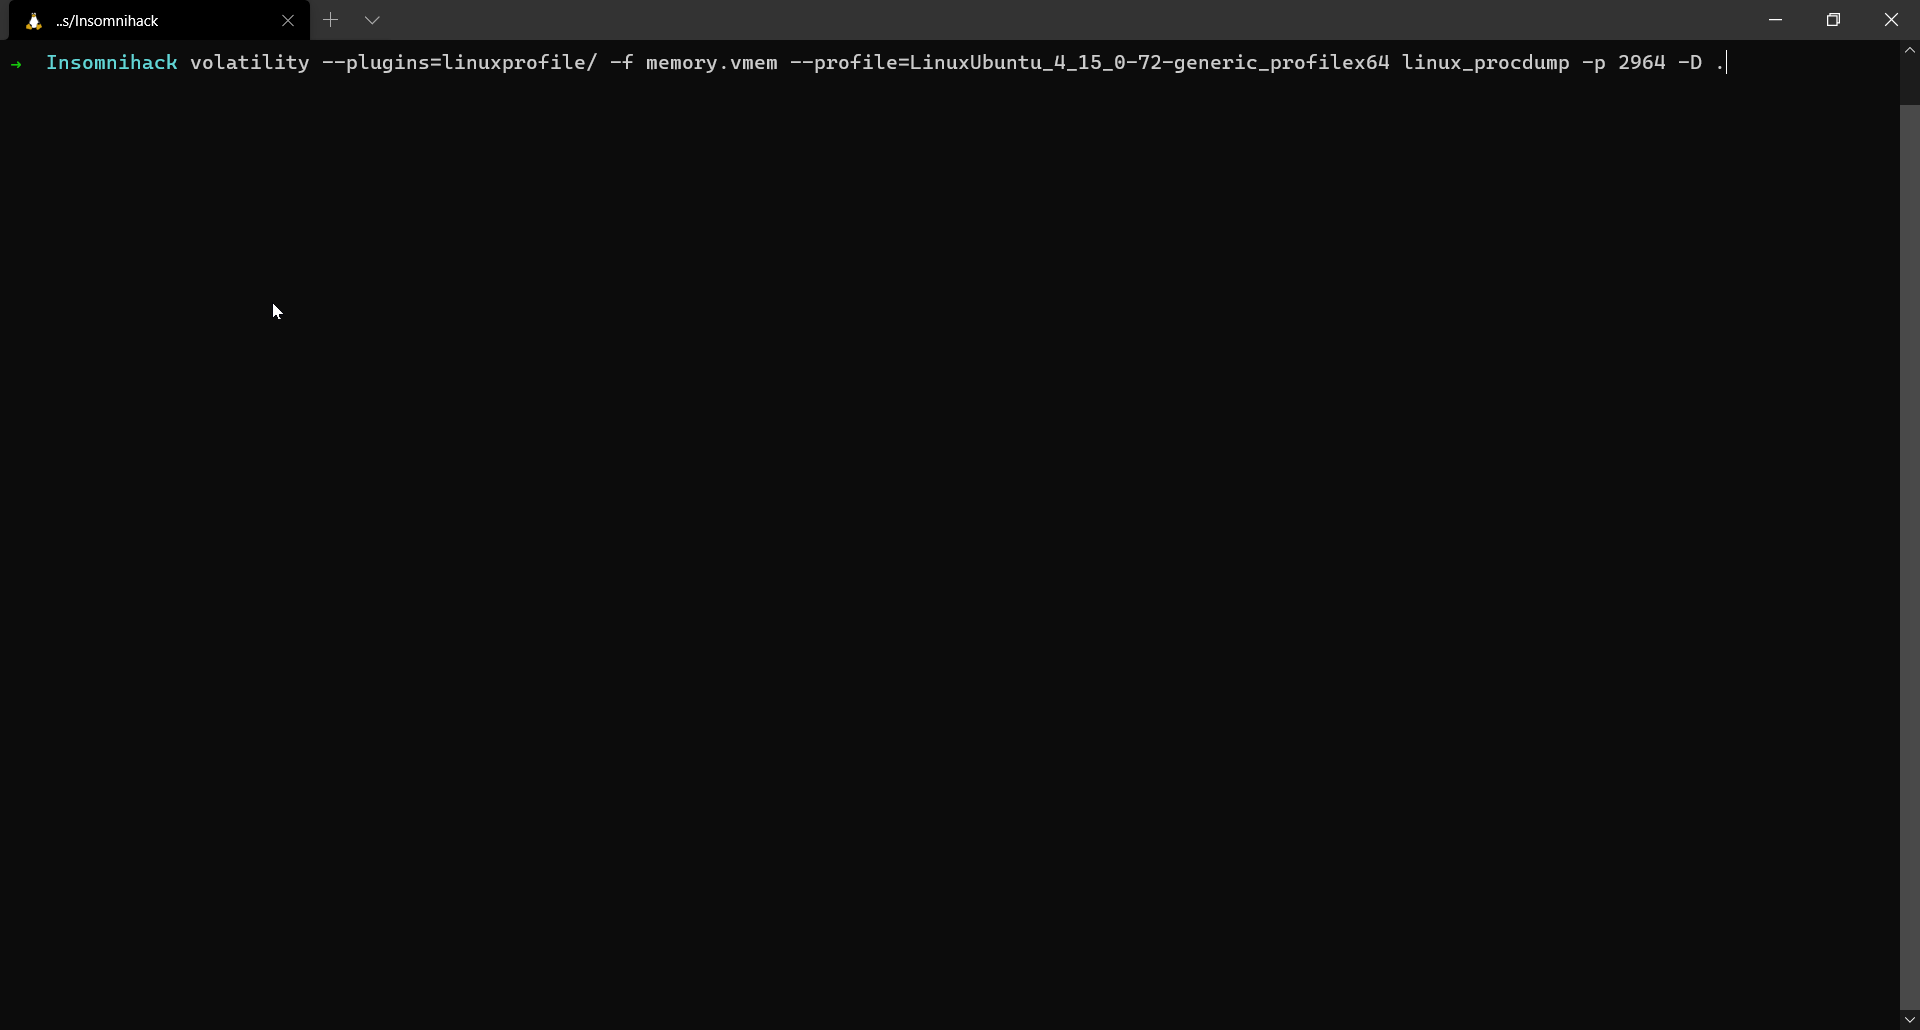
A basic string analysis on the extracted dump gives us a very big clue regarding the challenge.
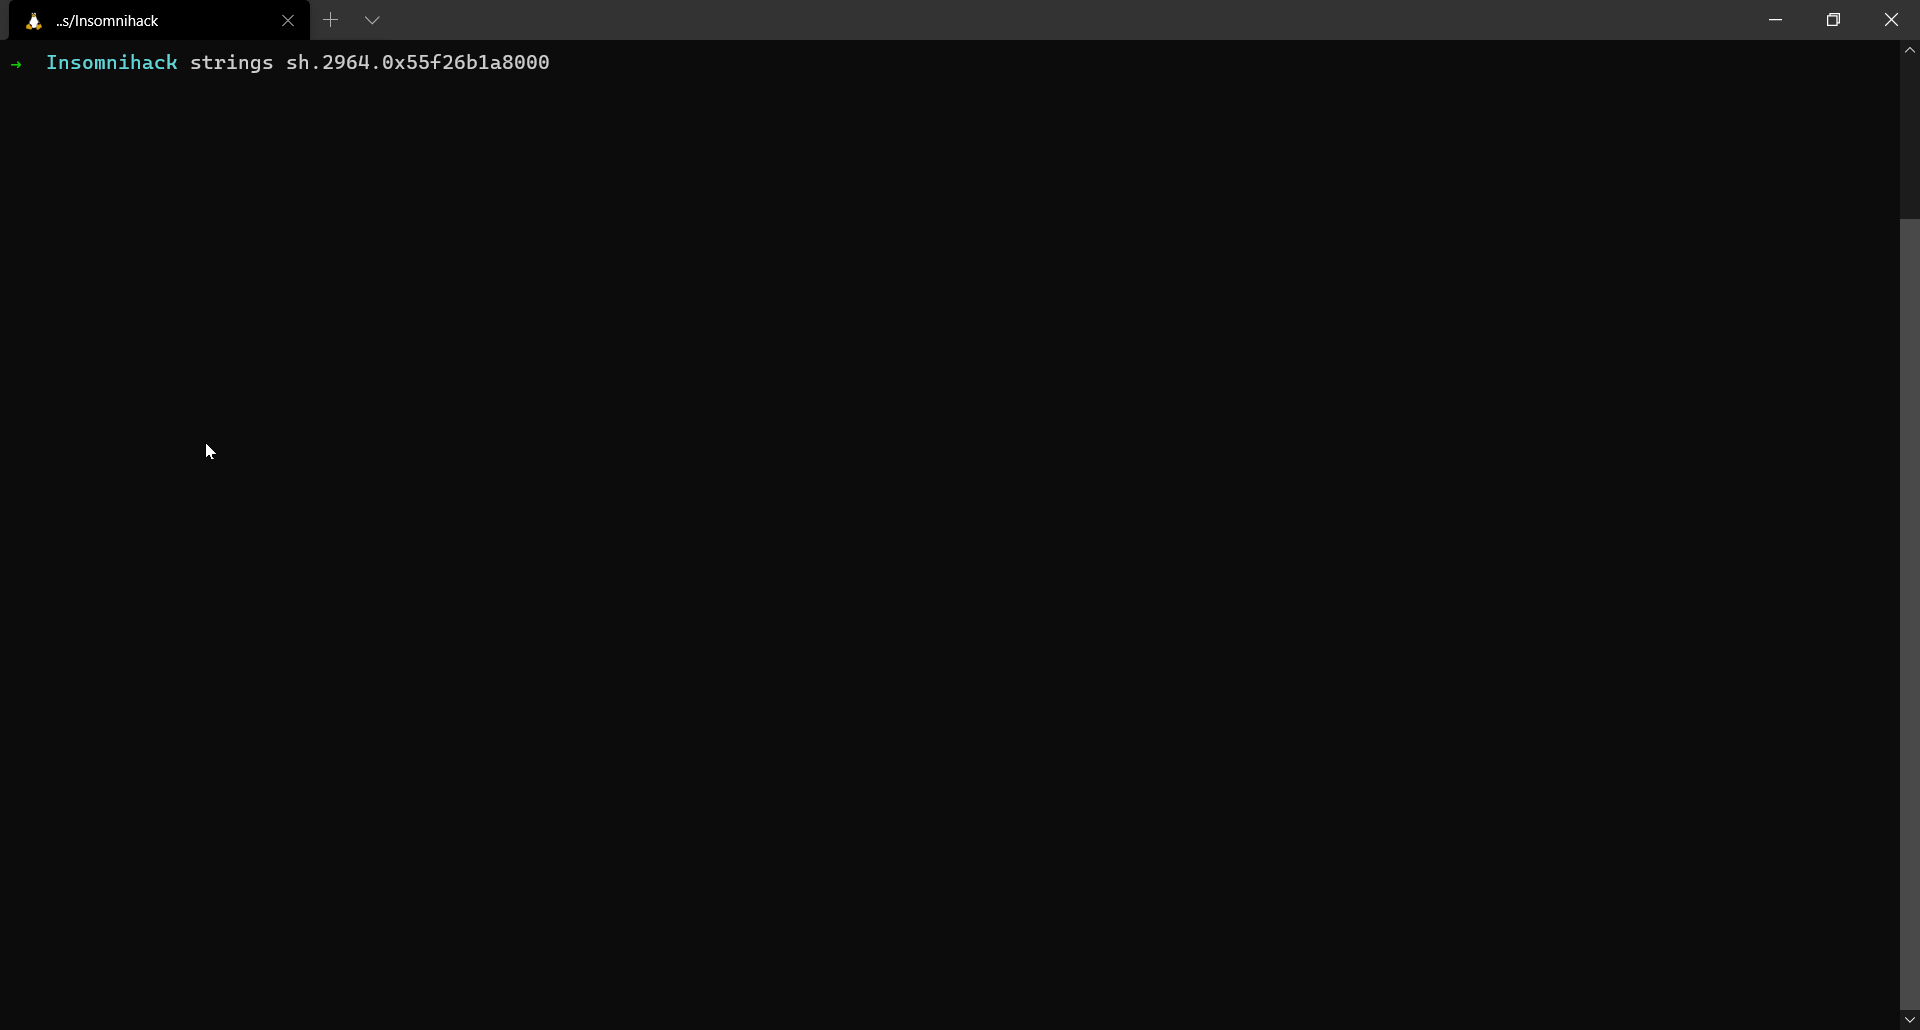
insmod /home/julien/Downloads/rkit.ko hide=rJ/1g5PA5amy176A64akjuq/jryOug== hide_pid=1751
Now we know that a malicious kernel module was inserted with the following parameters hide=rJ/1g5PA5amy176A64akjuq/jryOug== hide_pid=1751. The first parameter looks like a ciphertext and the PID which it is trying to hide is the PID of the meterpreter session.
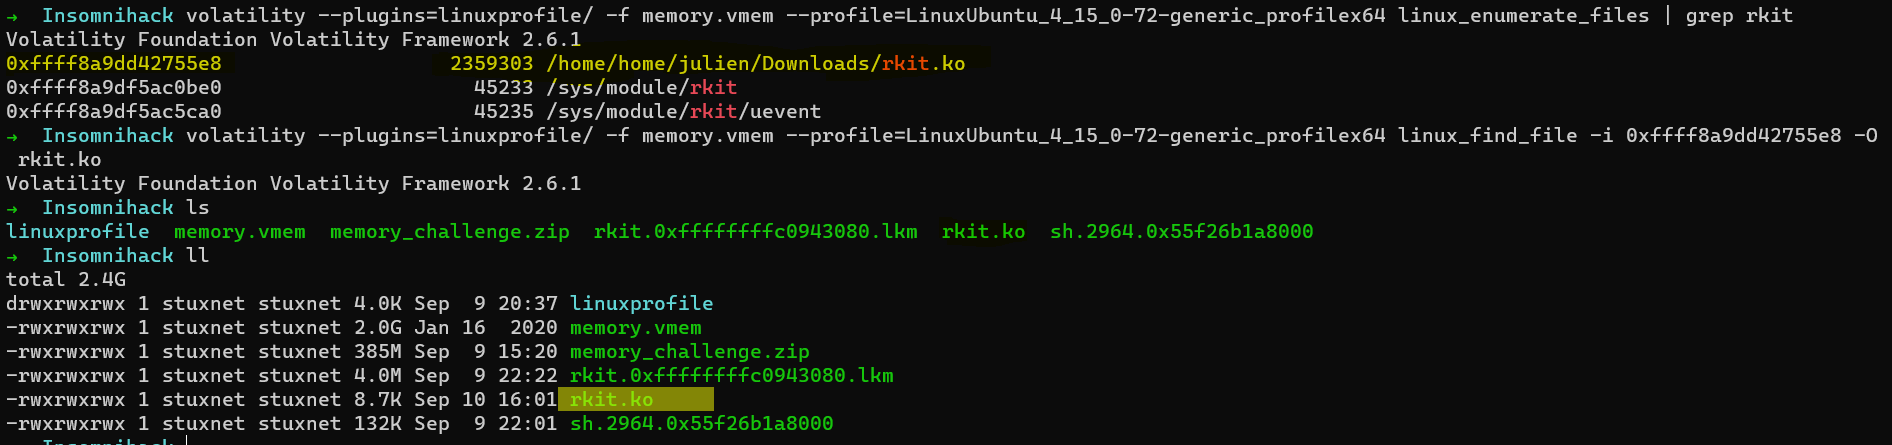
Extracting the rootkit
Since we now know that the location of the rootkit is /home/julien/Downloads/rkit.ko. Let us dump the rootkit and analyze the code using IDA.
$ volatility --plugins=linuxprofile/ -f memory.vmem --profile=LinuxUbuntu_4_15_0-72-generic_profilex64 linux_enumerate_files | grep rkit
$ volatility --plugins=linuxprofile/ -f memory.vmem --profile=LinuxUbuntu_4_15_0-72-generic_profilex64 linux_find_file -i 0xffff8a9dd42755e8 -O rkit.ko
Analyzing the kernel module
I am going to use IDA pro for analyzing the rootkit. I consider myself a beginner when it comes to reverse engineering. So, I don’t think I might explain this section the best way possible. It did take me a long time to figure out all this.
init_module
I first tried to reverse the init_module which gave me a lot of clues proceeding to the next steps.
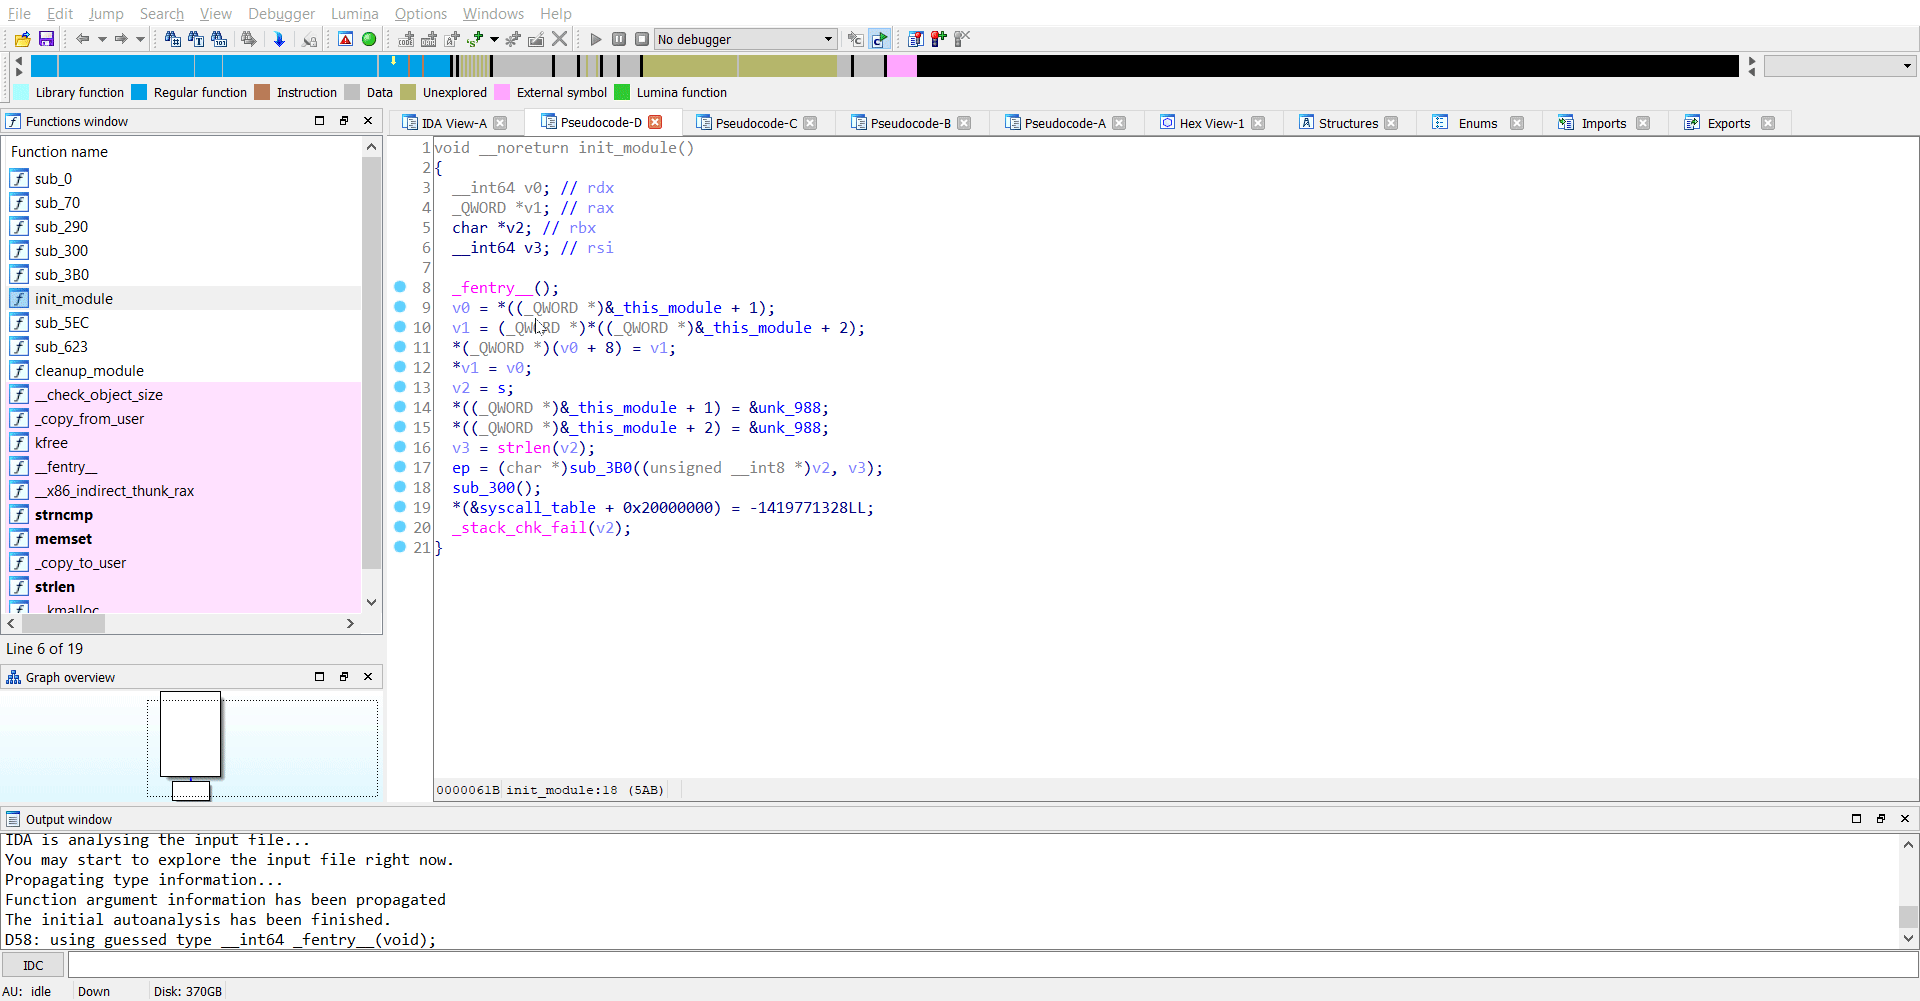
Now we observe that a particular variable ep is being set and its value is coming from whatever the code in sub_3B0 is. The arguments from what I believe is a string s. Looks like s points to the original command-line argument we passed, which is hide=rJ/1g5PA5amy176A64akjuq/jryOug==. So the function sub_3B0 performs some checks on the argument we passed and stores the result in ep and then at the next step sub_300 is called.
Reversing sub_3B0
The function sub_3B0 seemed pretty easy to reverse for me. As I found it, it looked like base64 decode to me.
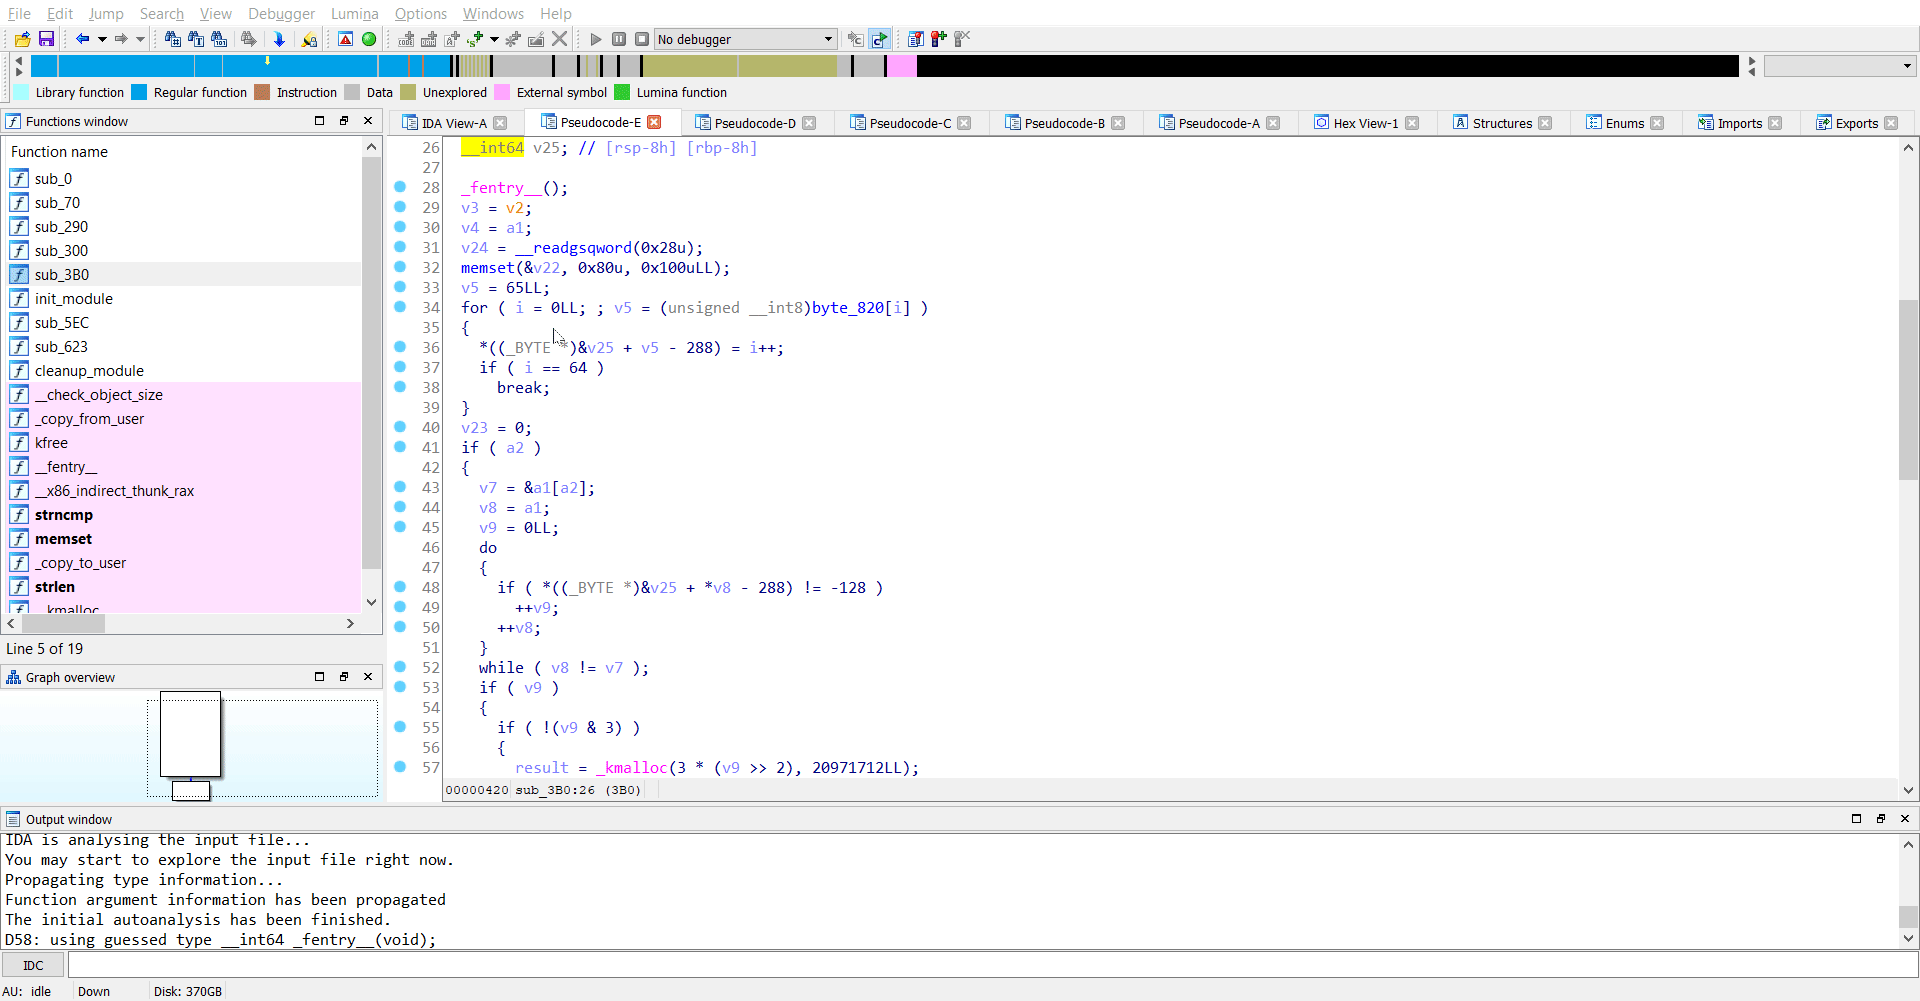
So the original parameter rJ/1g5PA5amy176A64akjuq/jryOug== is base64 decoded and stored in ep.
Reversing sub_300
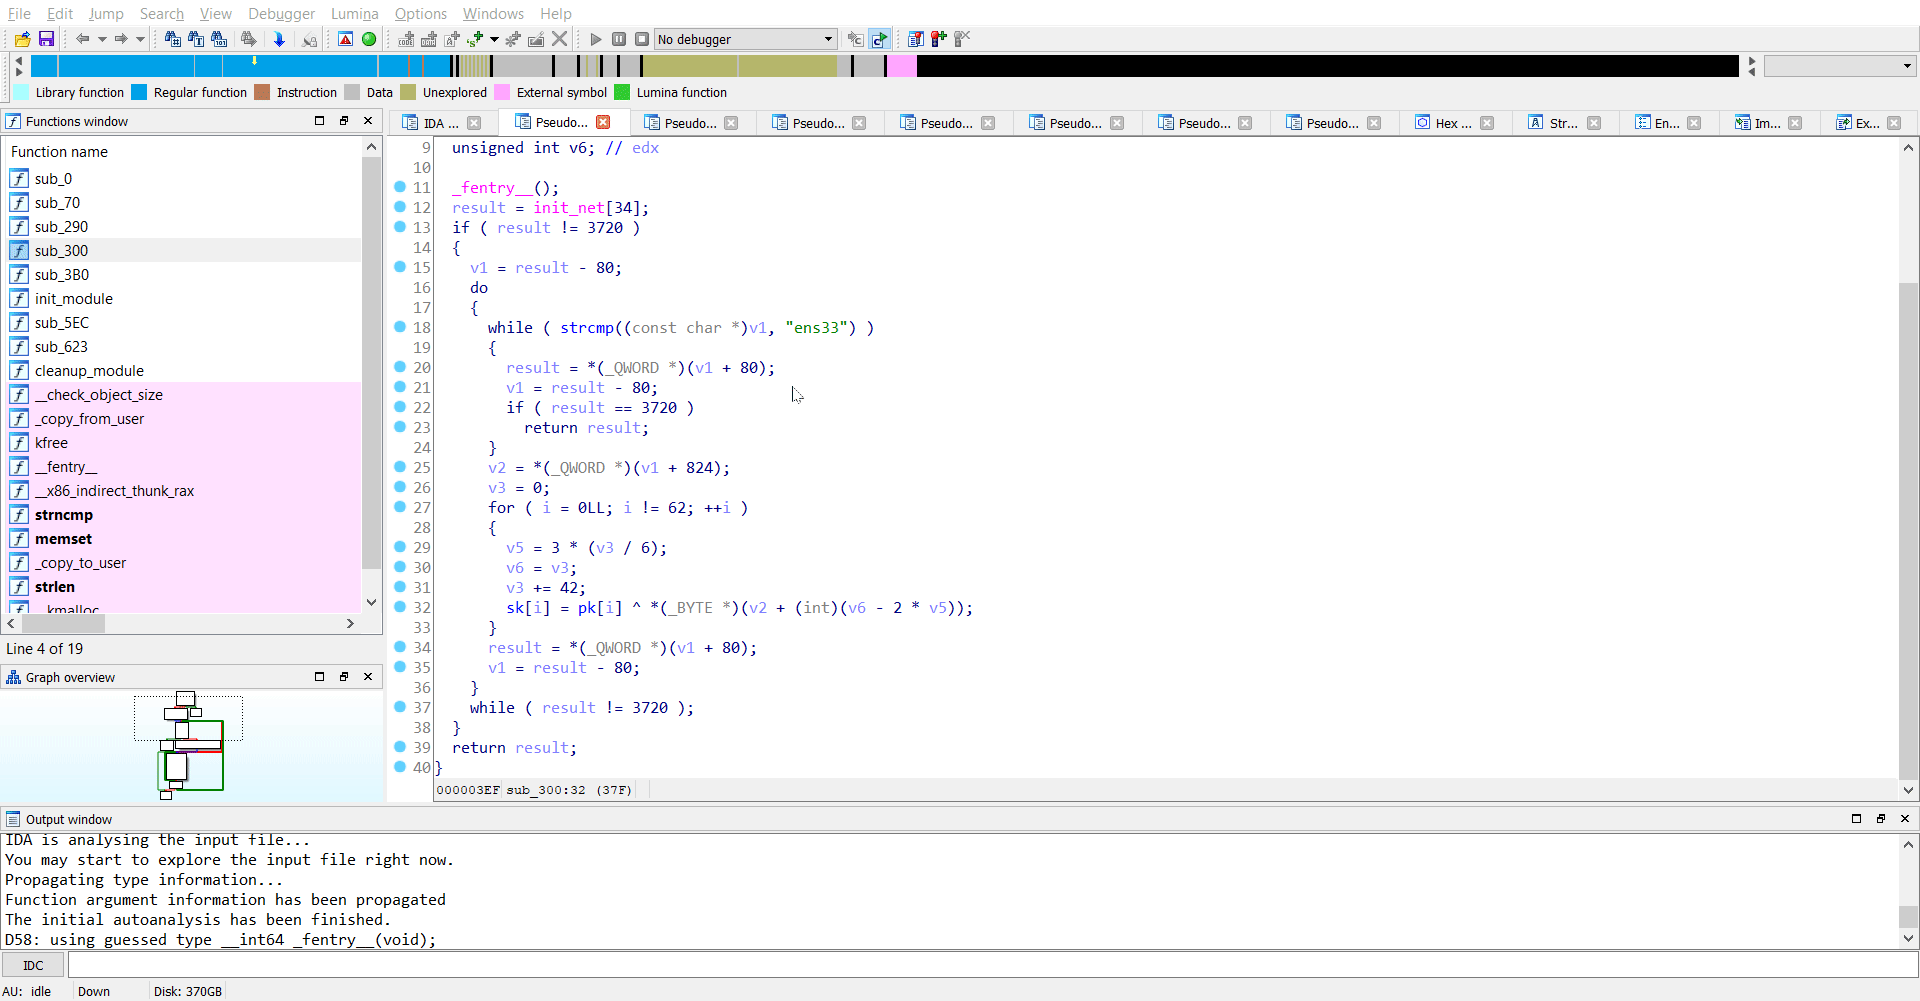
As I see it, the binary receives a key over the network from the ens33 interface and sets a new variable sk by performing a XOR operation on pk and key.
Luckily, pk was hard-coded in the binary itself as wC4jSbGOktXTIfdsHFuKoU7nZVvLq0eWl1mBQr9P5JEpMyN832AY6chRigDaxz.
Reversing sub_290
This was another interesting function where I saw both sk and ep being used. As I understand it, there is another XOR operation here between ep and sk.
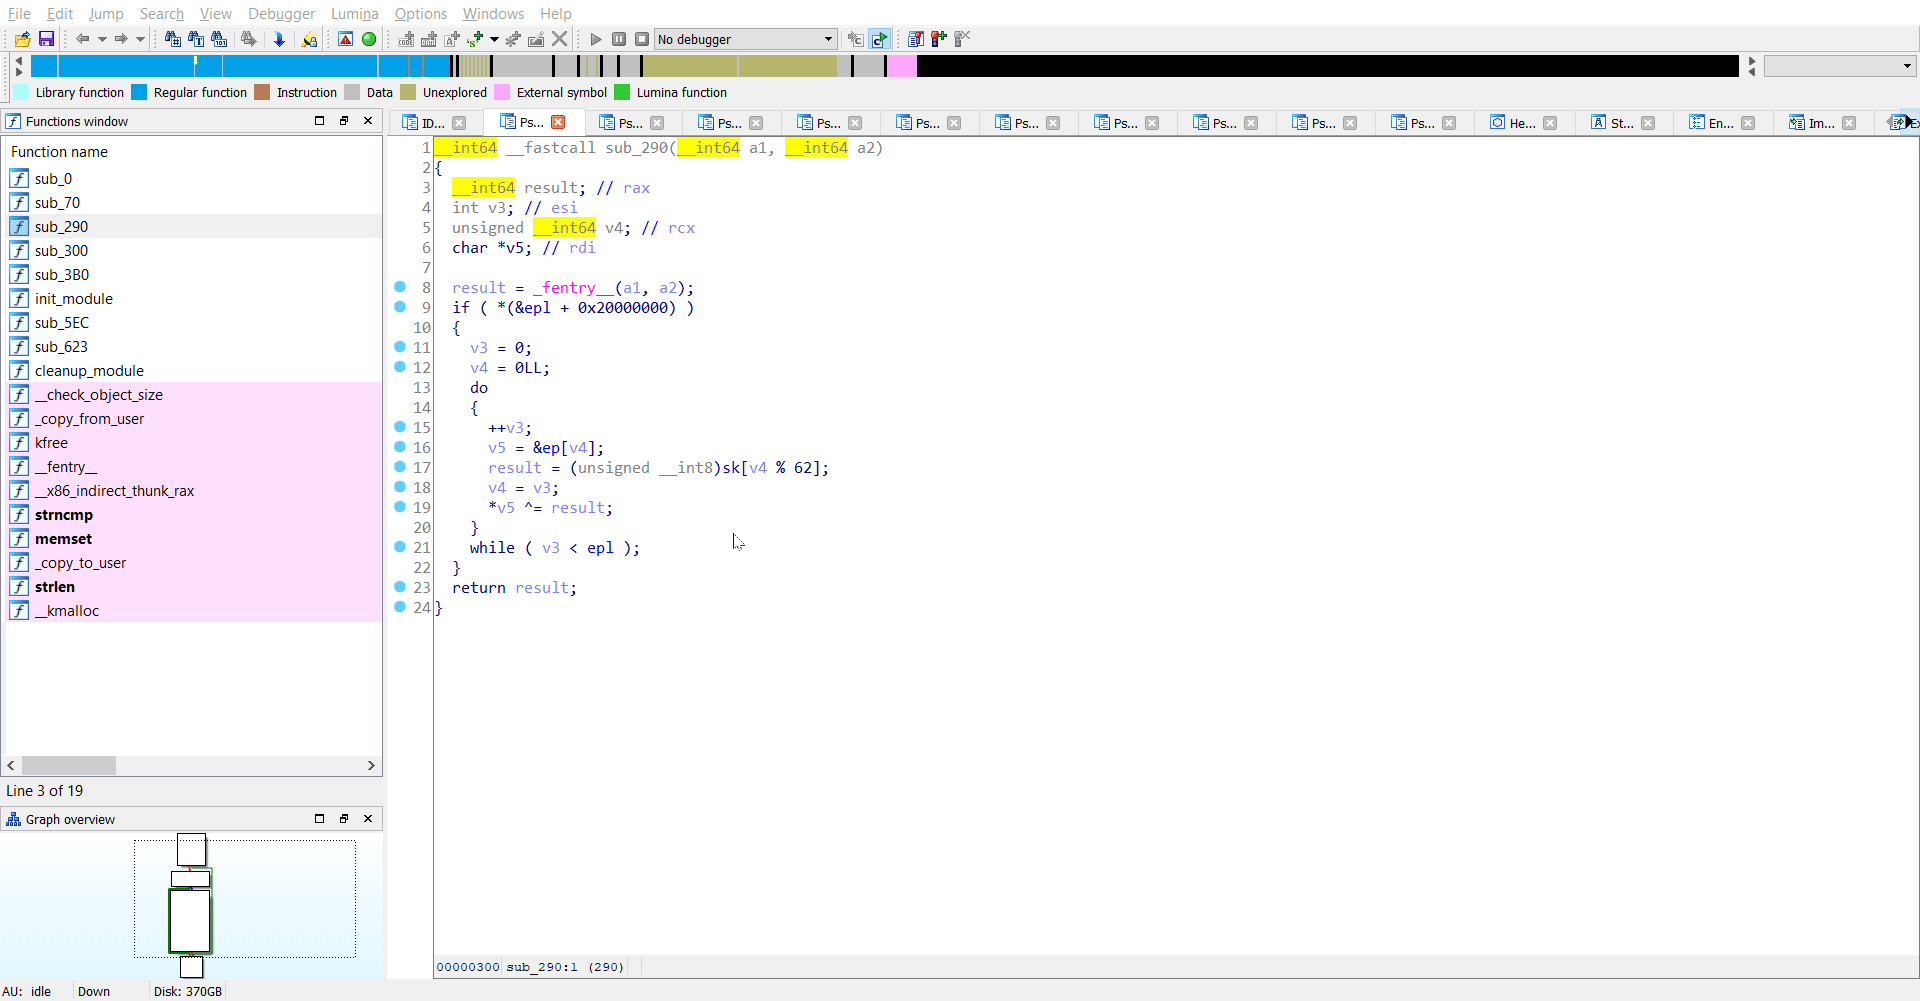 .
.
The code may look something like this:
for i in range(len(ep)):
  ep[i] = ep[i] ^ sk[i%62]
Now we have the value of ep but not sk. If we can extract the value of sk, we can easily get the flag.
Retrieving sk
My attempt here was to get the value of sk from the bss section of the memory. Since the module was loaded and running when the memory dump of the system was taken, it might just be possible to extract the bss section.
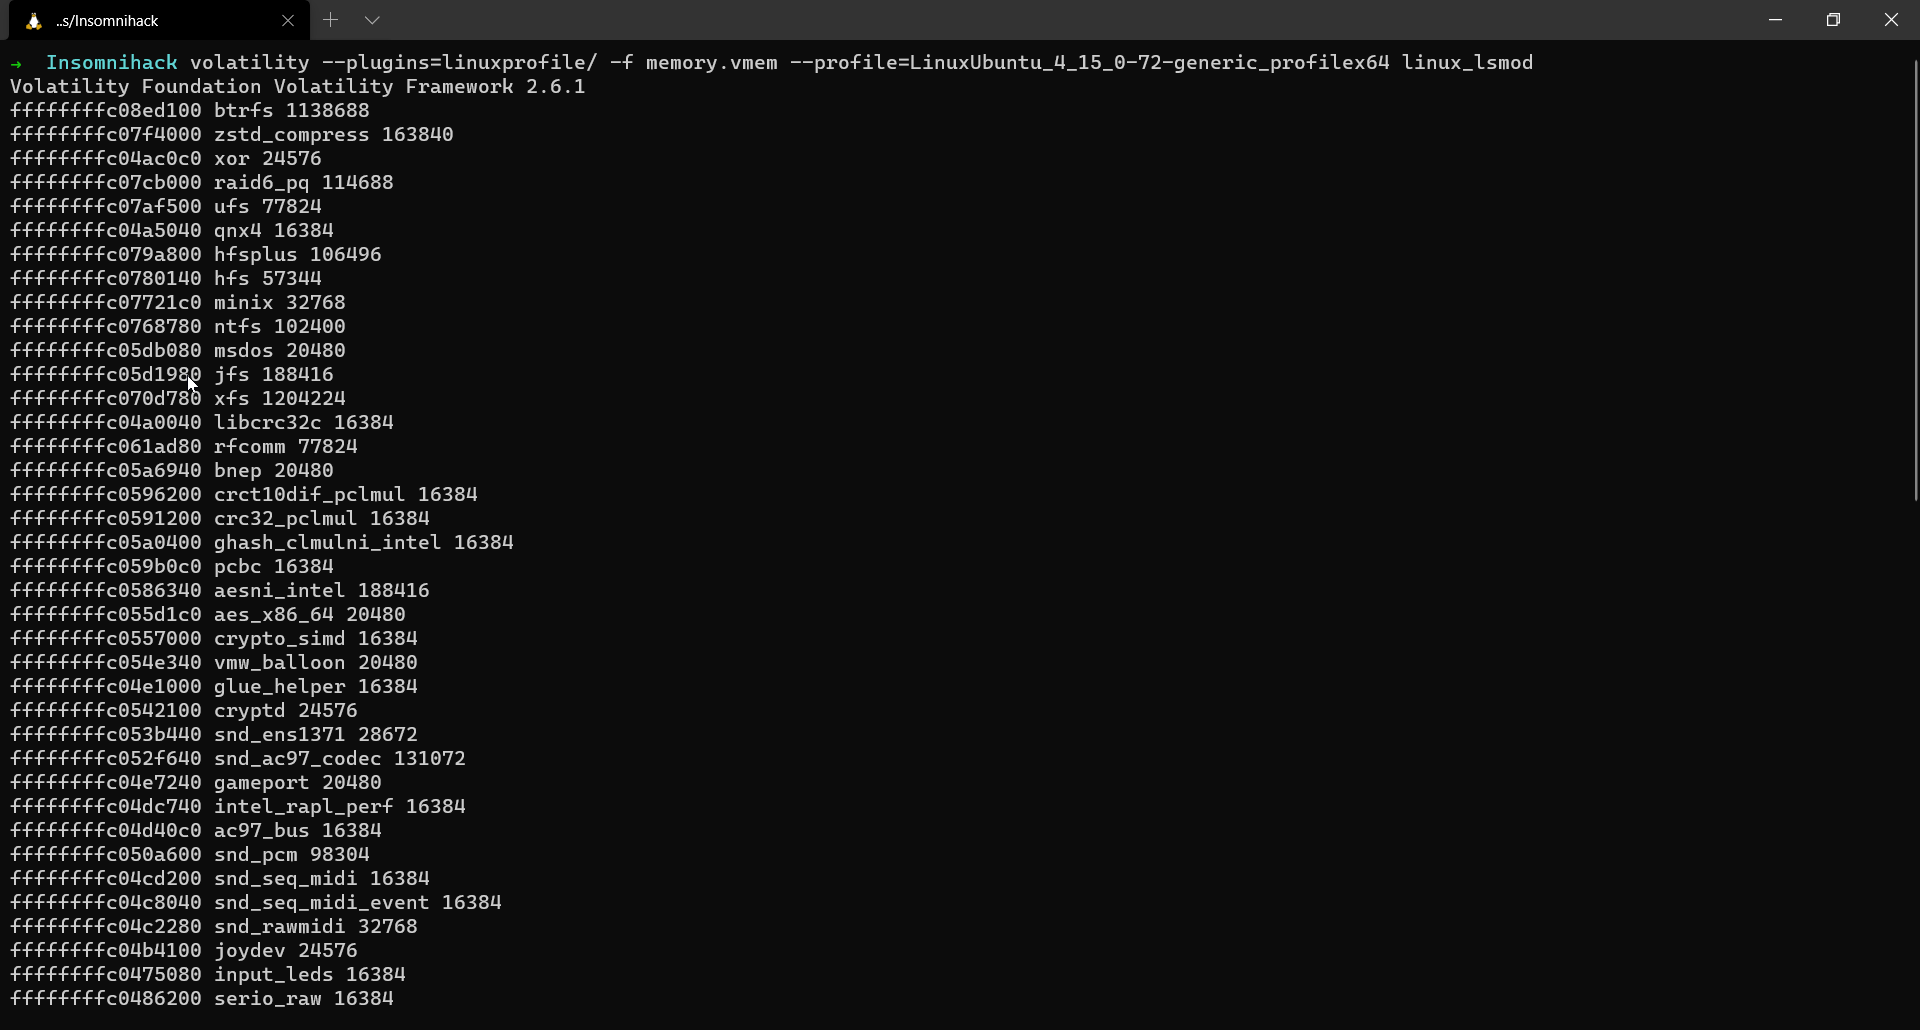
To list all the active modules running in the system, we can make use of linux_lsmod plugin.
$ volatility --plugins=linuxprofile/ -f memory.vmem --profile=LinuxUbuntu_4_15_0-72-generic_profilex64 linux_lsmod
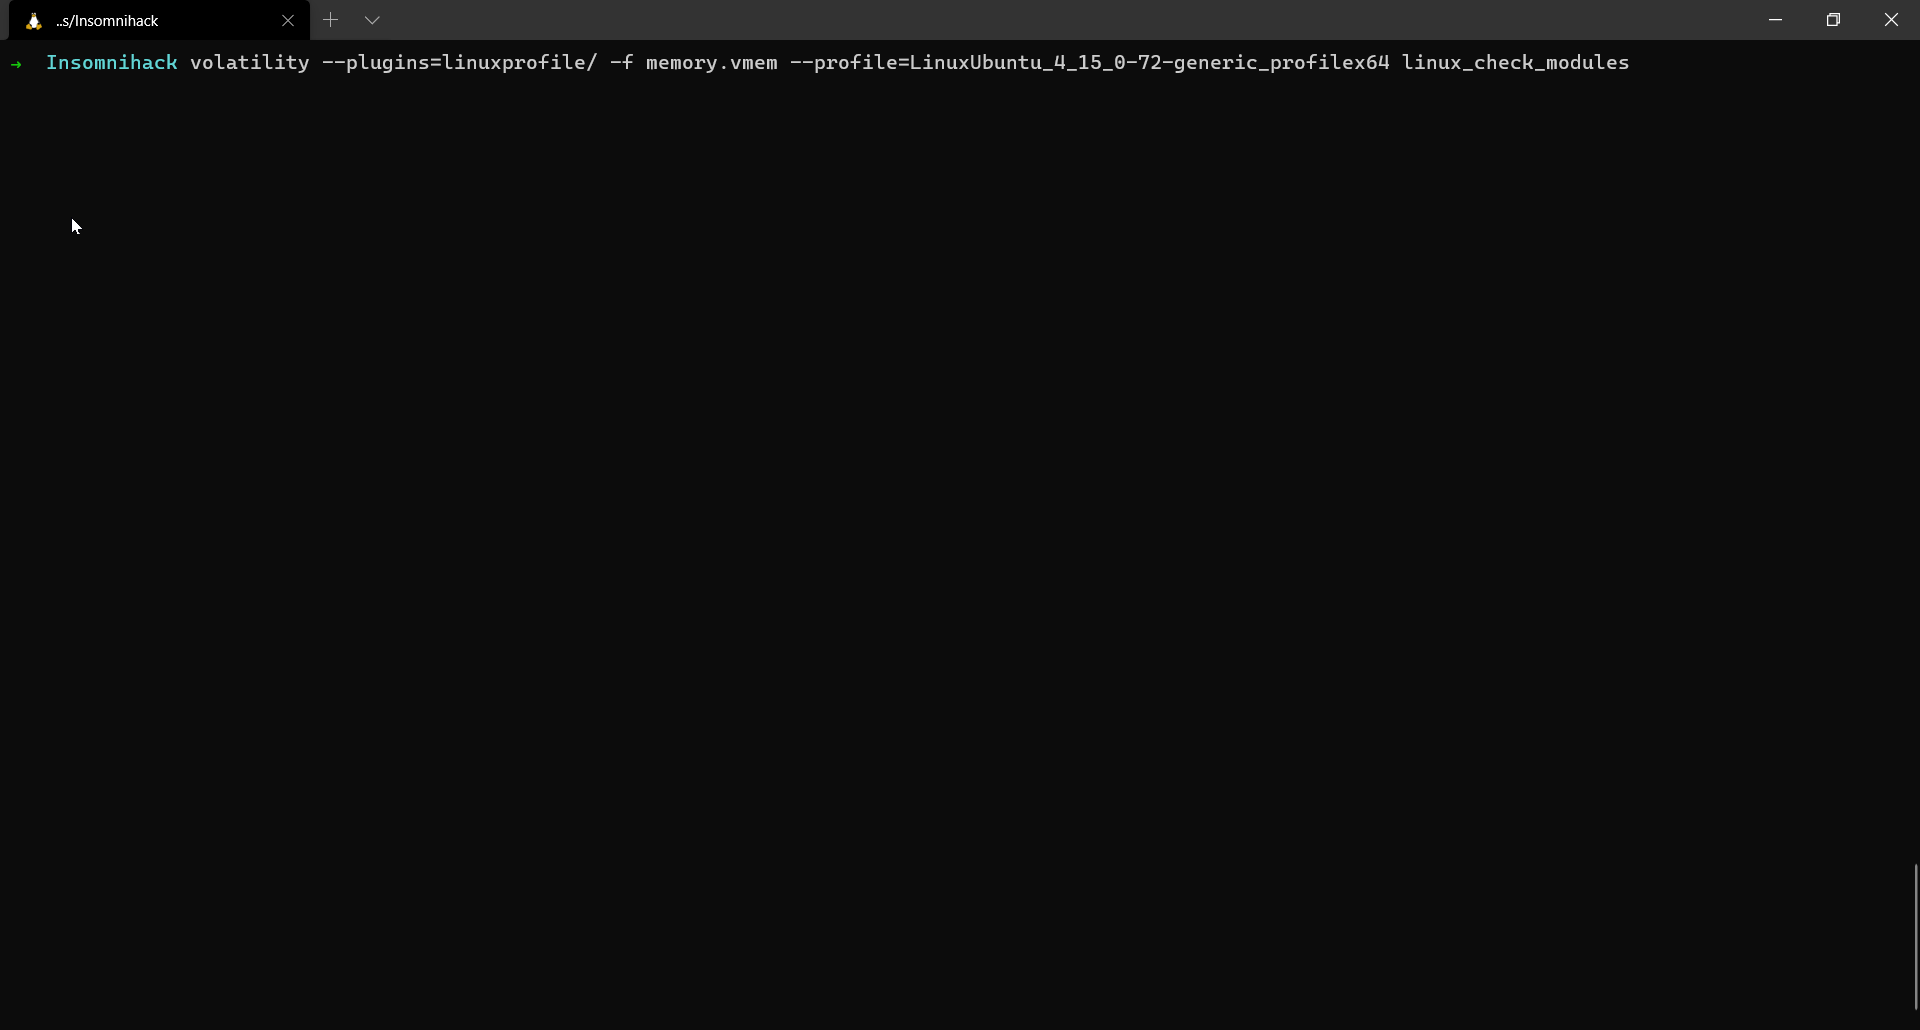
However, the rootkit rkit.ko was not found. Next, we can make use of the linux_check_modules plugin to locate the rootkit. Our purpose here is to find the base address so that we can dump it to the disk for further analysis.
$ volatility --plugins=linuxprofile/ -f memory.vmem --profile=LinuxUbuntu_4_15_0-72-generic_profilex64 linux_check_modules
Now we have the base address of rkit and hence let us dump it to disk.
$ volatility --plugins=linuxprofile/ -f memory.vmem --profile=LinuxUbuntu_4_15_0-72-generic_profilex64 linux_moddump -b 0xffffffffc0943080 -D .
Now we have the memory dump of the rootkit and we can go ahead analysing this in IDA.
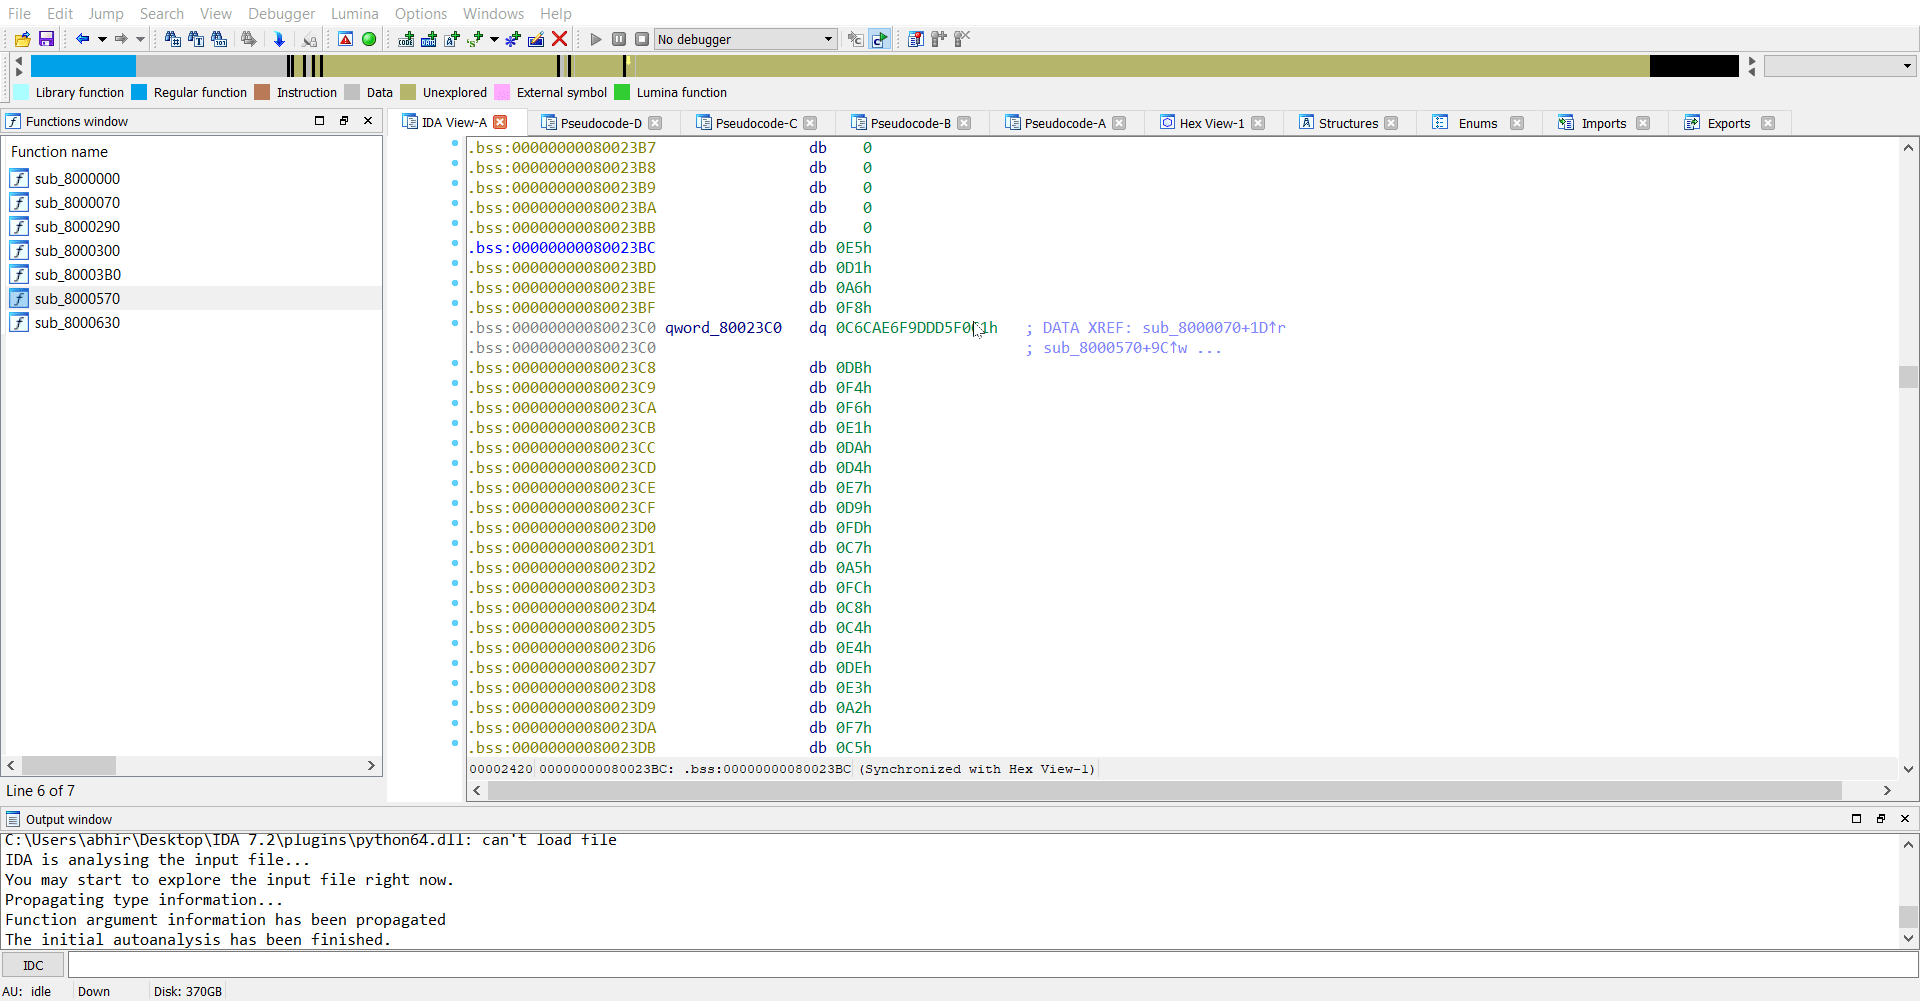
So we extract sk which is E5 D1 A6 F8 C1 F0 D5 DD F9 E6 CA C6 DB F4 F6 E1 DA D4 E7 D9 FD C7 A5 FC C8 C4 E4 DE E3 A2 F7 C5 FE A3 FF D0 C3 E0 AB C2 A7 D8 D7 E2 DF EB DC AA A1 A0 D3 CB A4 F1 FA C0 FB F5 D6 F3 EA E8 00 00.
Flag
Since we have both ep and sk now, we can go ahead and obtain the flag with a simple python script.
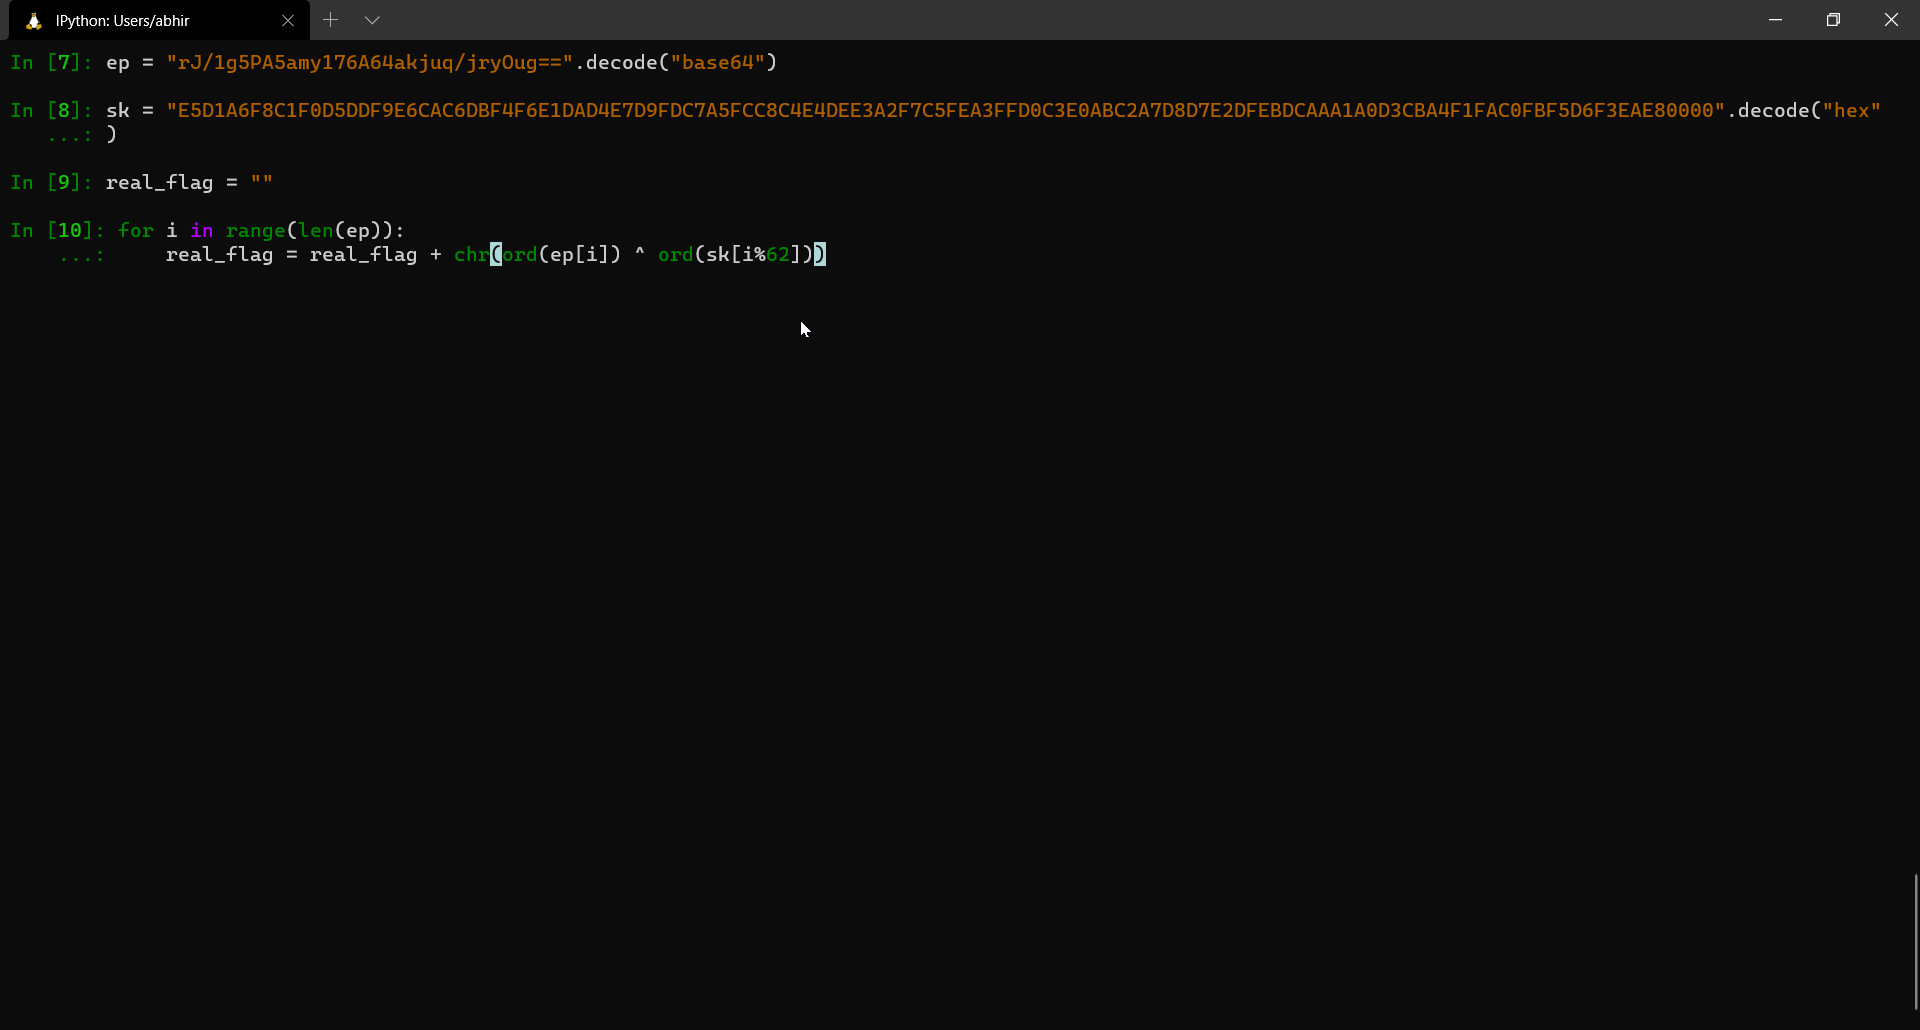
FLAG: INS{R00tK1tF0rRo0kies} {:.success}
Conclusion
I felt this was a really good challenge. I learnt a lot of reverse engineering along the way. If you have any queries, do DM me on Twitter: https://twitter.com/_abhiramkumar.